

A little ghee over Gujarati dal and rice is one of those simple comforts I have always loved. Growing up, my mom and I would often add an extra spoonful to our bowls. Even today, it's one of the meals that reminds me of home.
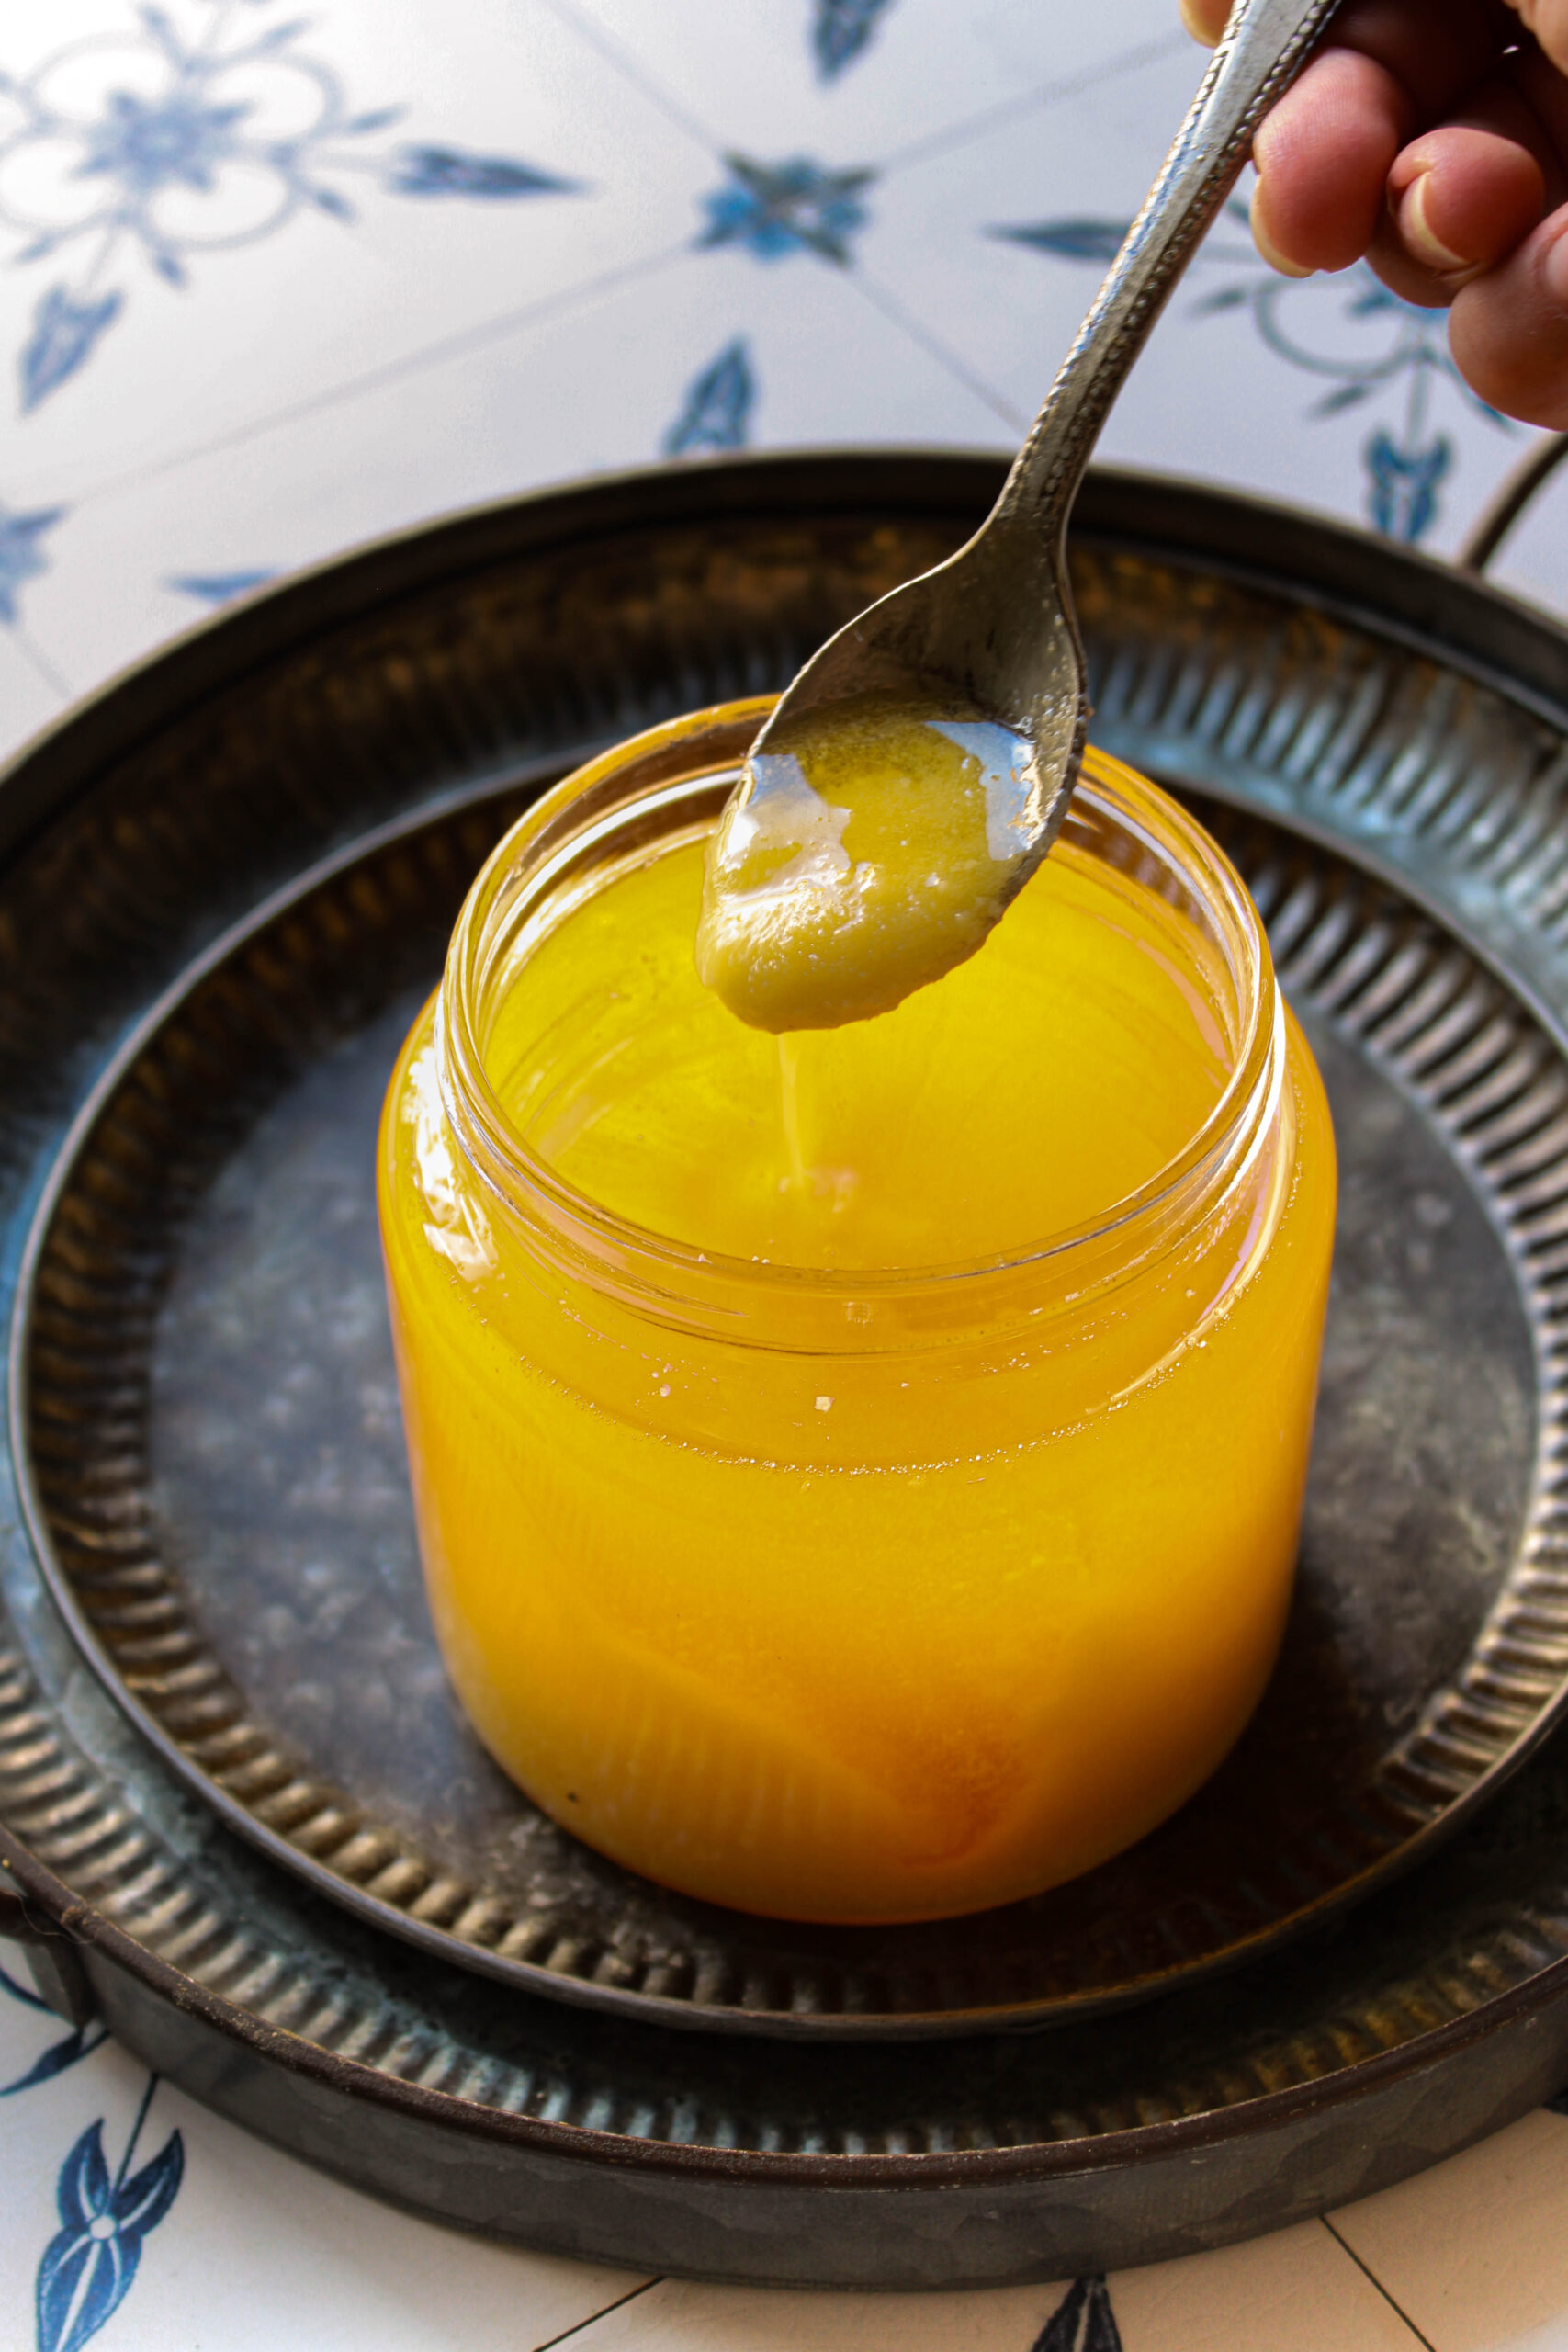
Now that I cook for my own family, ghee remains a staple in my kitchen. I use it for everyday Indian meals, from tempering dal to finishing a plate of hot khichdi. Having a jar ready for the days when I'm making homemade parathas or Indian sweets.
I make my ghee using Kerrygold butter sticks from Costco. Over the years, this has become my preferred butter for the rich flavor it produces and the grainy texture I enjoy in danedar ghee. I've tried Costco's Kirkland Organic Grass-Fed Butter, too. It made flavorful ghee, but the finished texture wasn't quite what I prefer.
Using my Instant Pot makes the process convenient. I melt the butter, let it cook until the milk solids develop the color and aroma I'm looking for, and strain the finished ghee into a jar.
In this recipe, I'll show you how I make ghee at home using store-bought butter, what I look for as it cooks, and how I aim for that danedar texture. I have been making ghee this same exact way for 8 years now.
Jump to:
- What Is Ghee?
- Why You'll Love This Instant Pot Homemade Ghee Recipe
- The Butter I Use for Homemade Ghee
- What Is Danedar Ghee?
- Indian Cultured Ghee vs. Clarified Butter: What's the Difference?
- What Is Indian Cultured Ghee?
- Ingredients You'll Need
- How to Make Ghee in the Instant Pot
- How to Store Homemade Ghee
- How to Use Homemade Ghee
- Frequently Asked Questions
- Instant Pot Homemade Ghee
What Is Ghee?
Ghee is a type of clarified butter commonly used in Indian cooking. It is made by gently heating butter until its water evaporates and the milk solids separate from the fat.
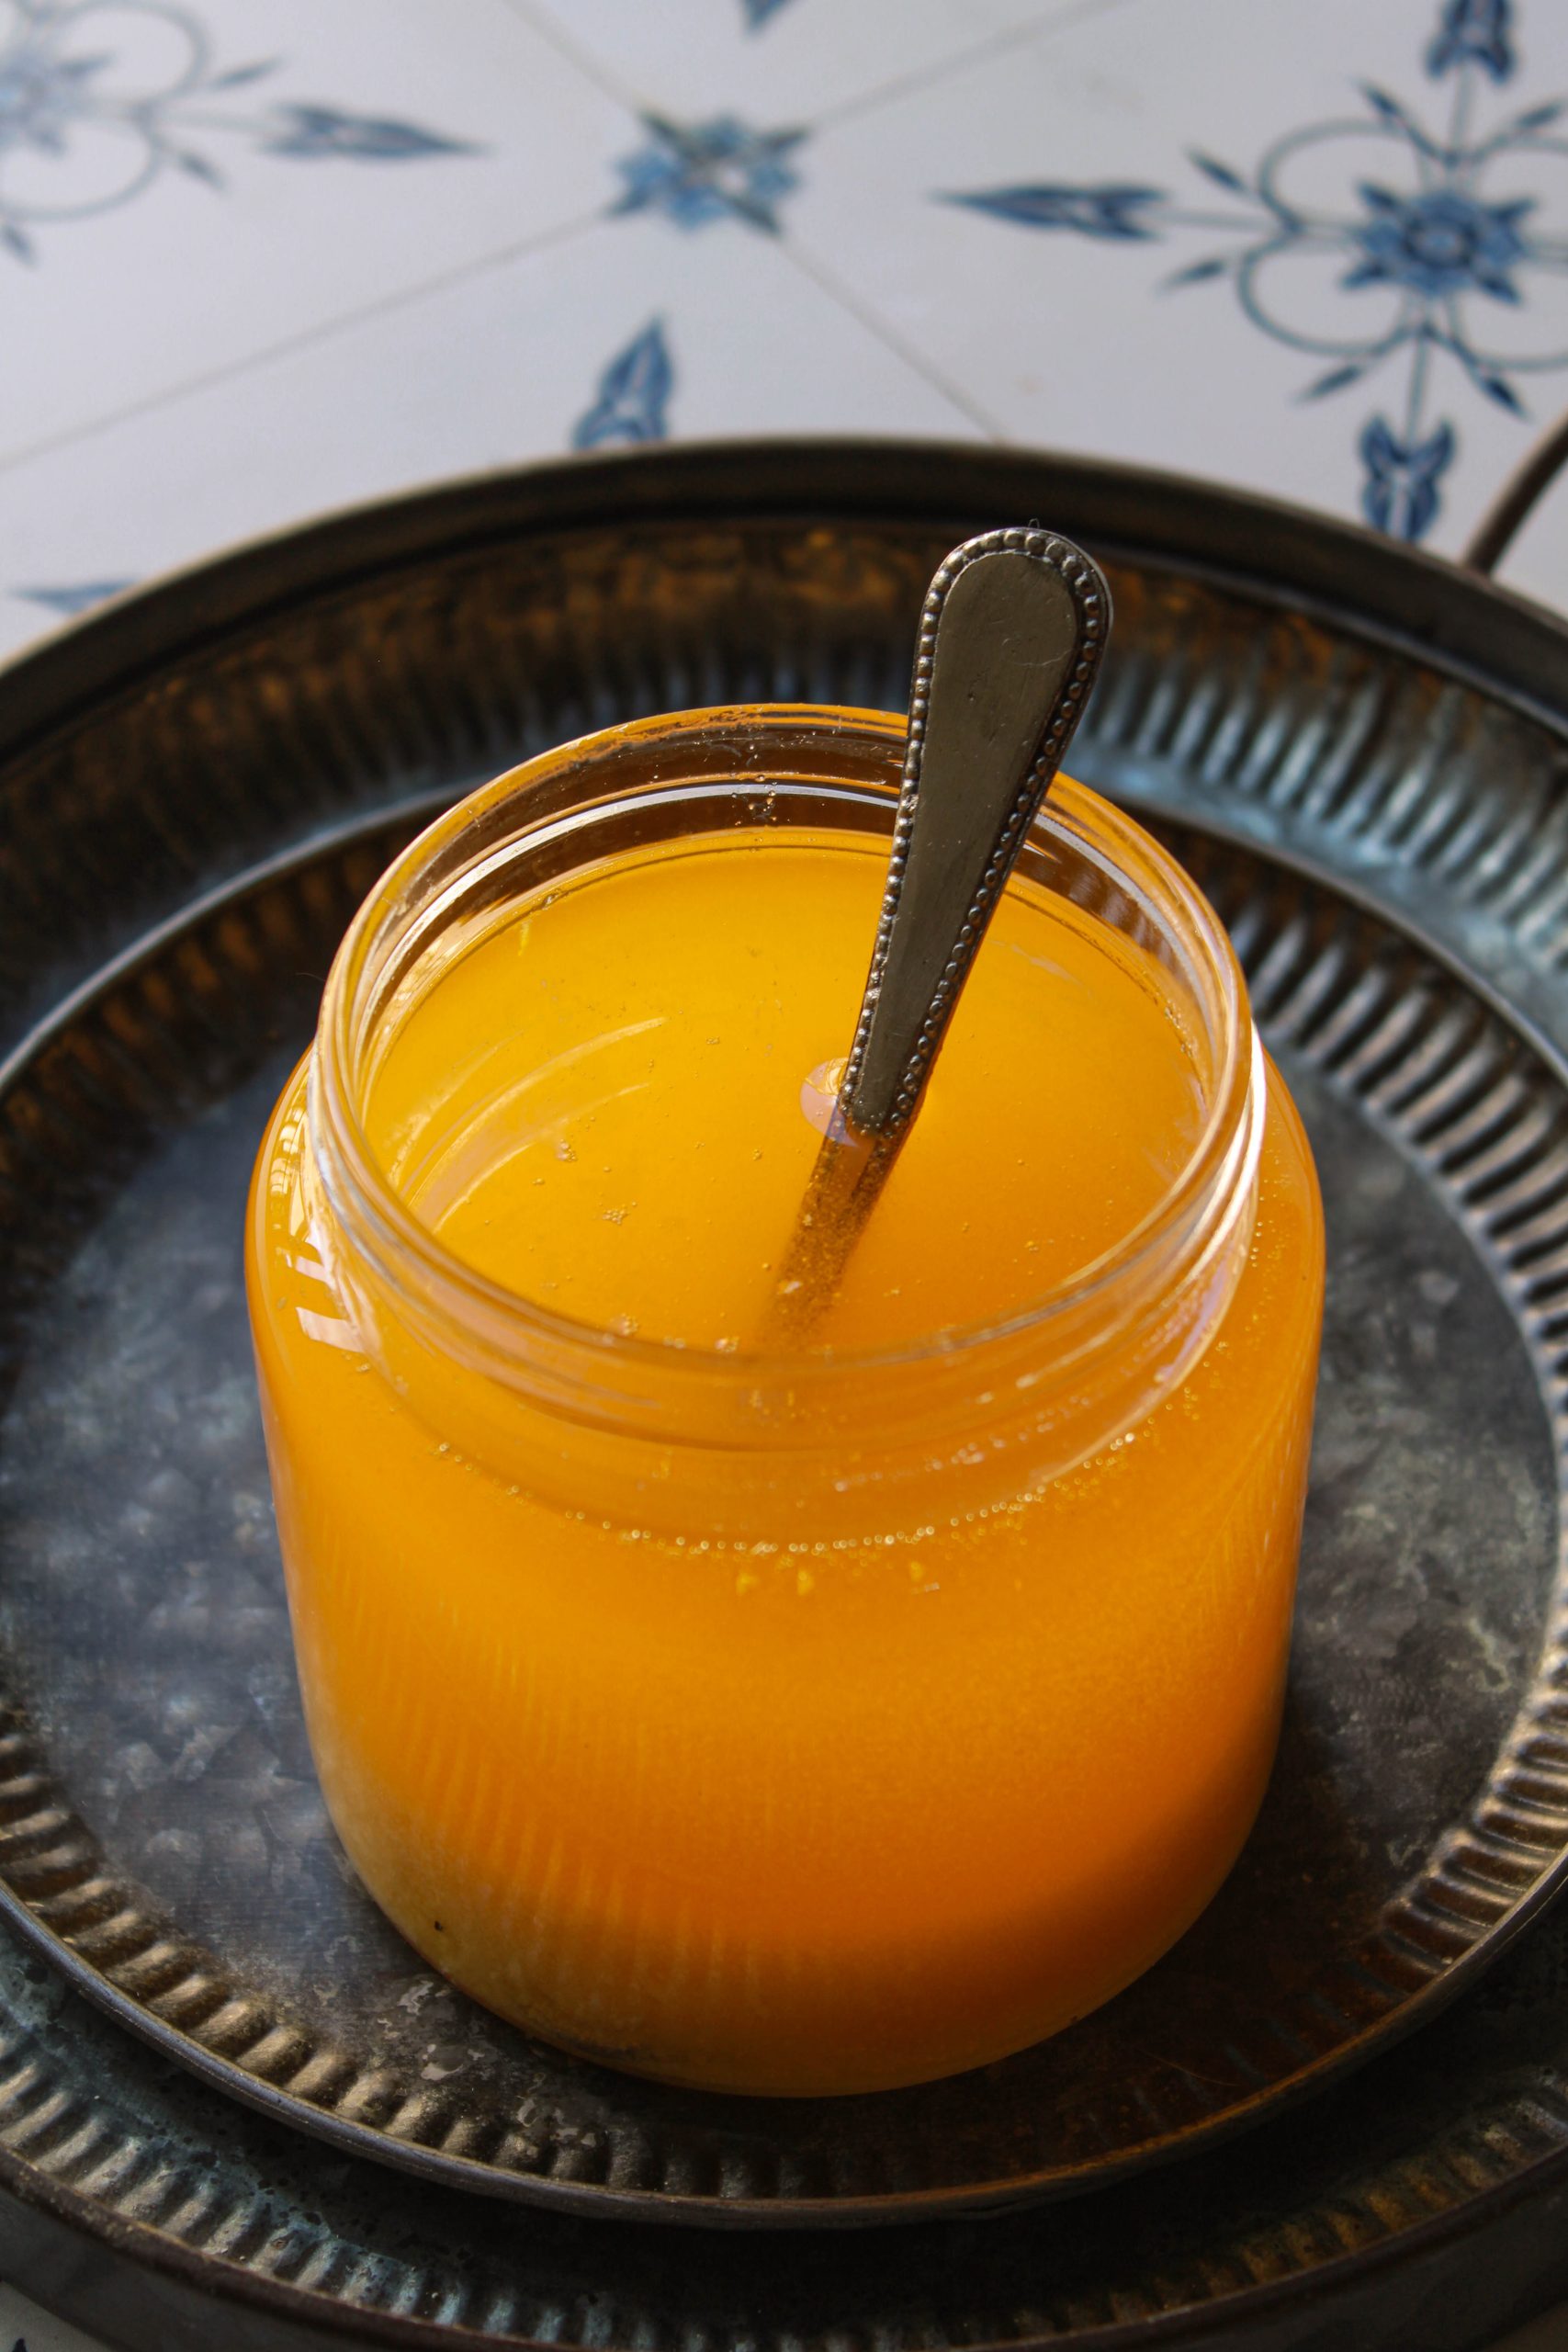
As the butter cooks, the moisture evaporates, and the milk solids settle at the bottom of the pot. These solids gradually turn golden brown, developing the characteristic nutty aroma that makes ghee so delicious.
Once the cooking process is complete, the clear golden fat is strained to remove the milk solids.
The result is pure, aromatic ghee that can be used for everyday cooking, frying, roasting, and preparing Indian sweets.
Ghee is especially popular in Indian cuisine because it adds richness and depth to simple dishes. A spoonful over hot khichdi, dal-rice, or freshly made rotis can make an ordinary meal feel comforting and complete.
Why You'll Love This Instant Pot Homemade Ghee Recipe
- Easy to make: You only need butter and your Instant Pot.
- Convenient cooking method: The Instant Pot eliminates the need to constantly stir butter on the stovetop.
- Rich, nutty flavor: Slowly cooking the butter develops the characteristic aroma of homemade ghee.
- Beautiful danedar texture: Using Kerrygold butter is my preferred method for making rich ghee with those lovely little granules.
- Perfect for Indian cooking: Use it for dals, curries, parathas, rotis, khichdi, and traditional Indian desserts.
- Easy to store: Properly prepared and stored ghee can last for an extended period.
The Butter I Use for Homemade Ghee
I usually buy Kerrygold butter sticks at Costco specifically for making ghee. I enjoy the flavor of the finished ghee, and it is the butter I reach for when I want a danedar texture.
I've also made ghee using Kirkland Organic Grass-Fed Butter. The flavor was rich, but the finished ghee didn't develop the grainy consistency I prefer as noticeably as my Kerrygold batches.
That has made Kerrygold my personal choice for this recipe. However, the final texture depends on more than the brand alone. The composition of the butter, how the ghee is cooked, and how it cools can all influence the result.
You can use another unsalted butter if that is what you have at home. I recommend starting with a butter you enjoy and paying attention to the texture your own batches develop.
What Is Danedar Ghee?
If you've ever opened a jar of homemade Indian ghee and noticed tiny granules throughout it, you've seen danedar ghee.
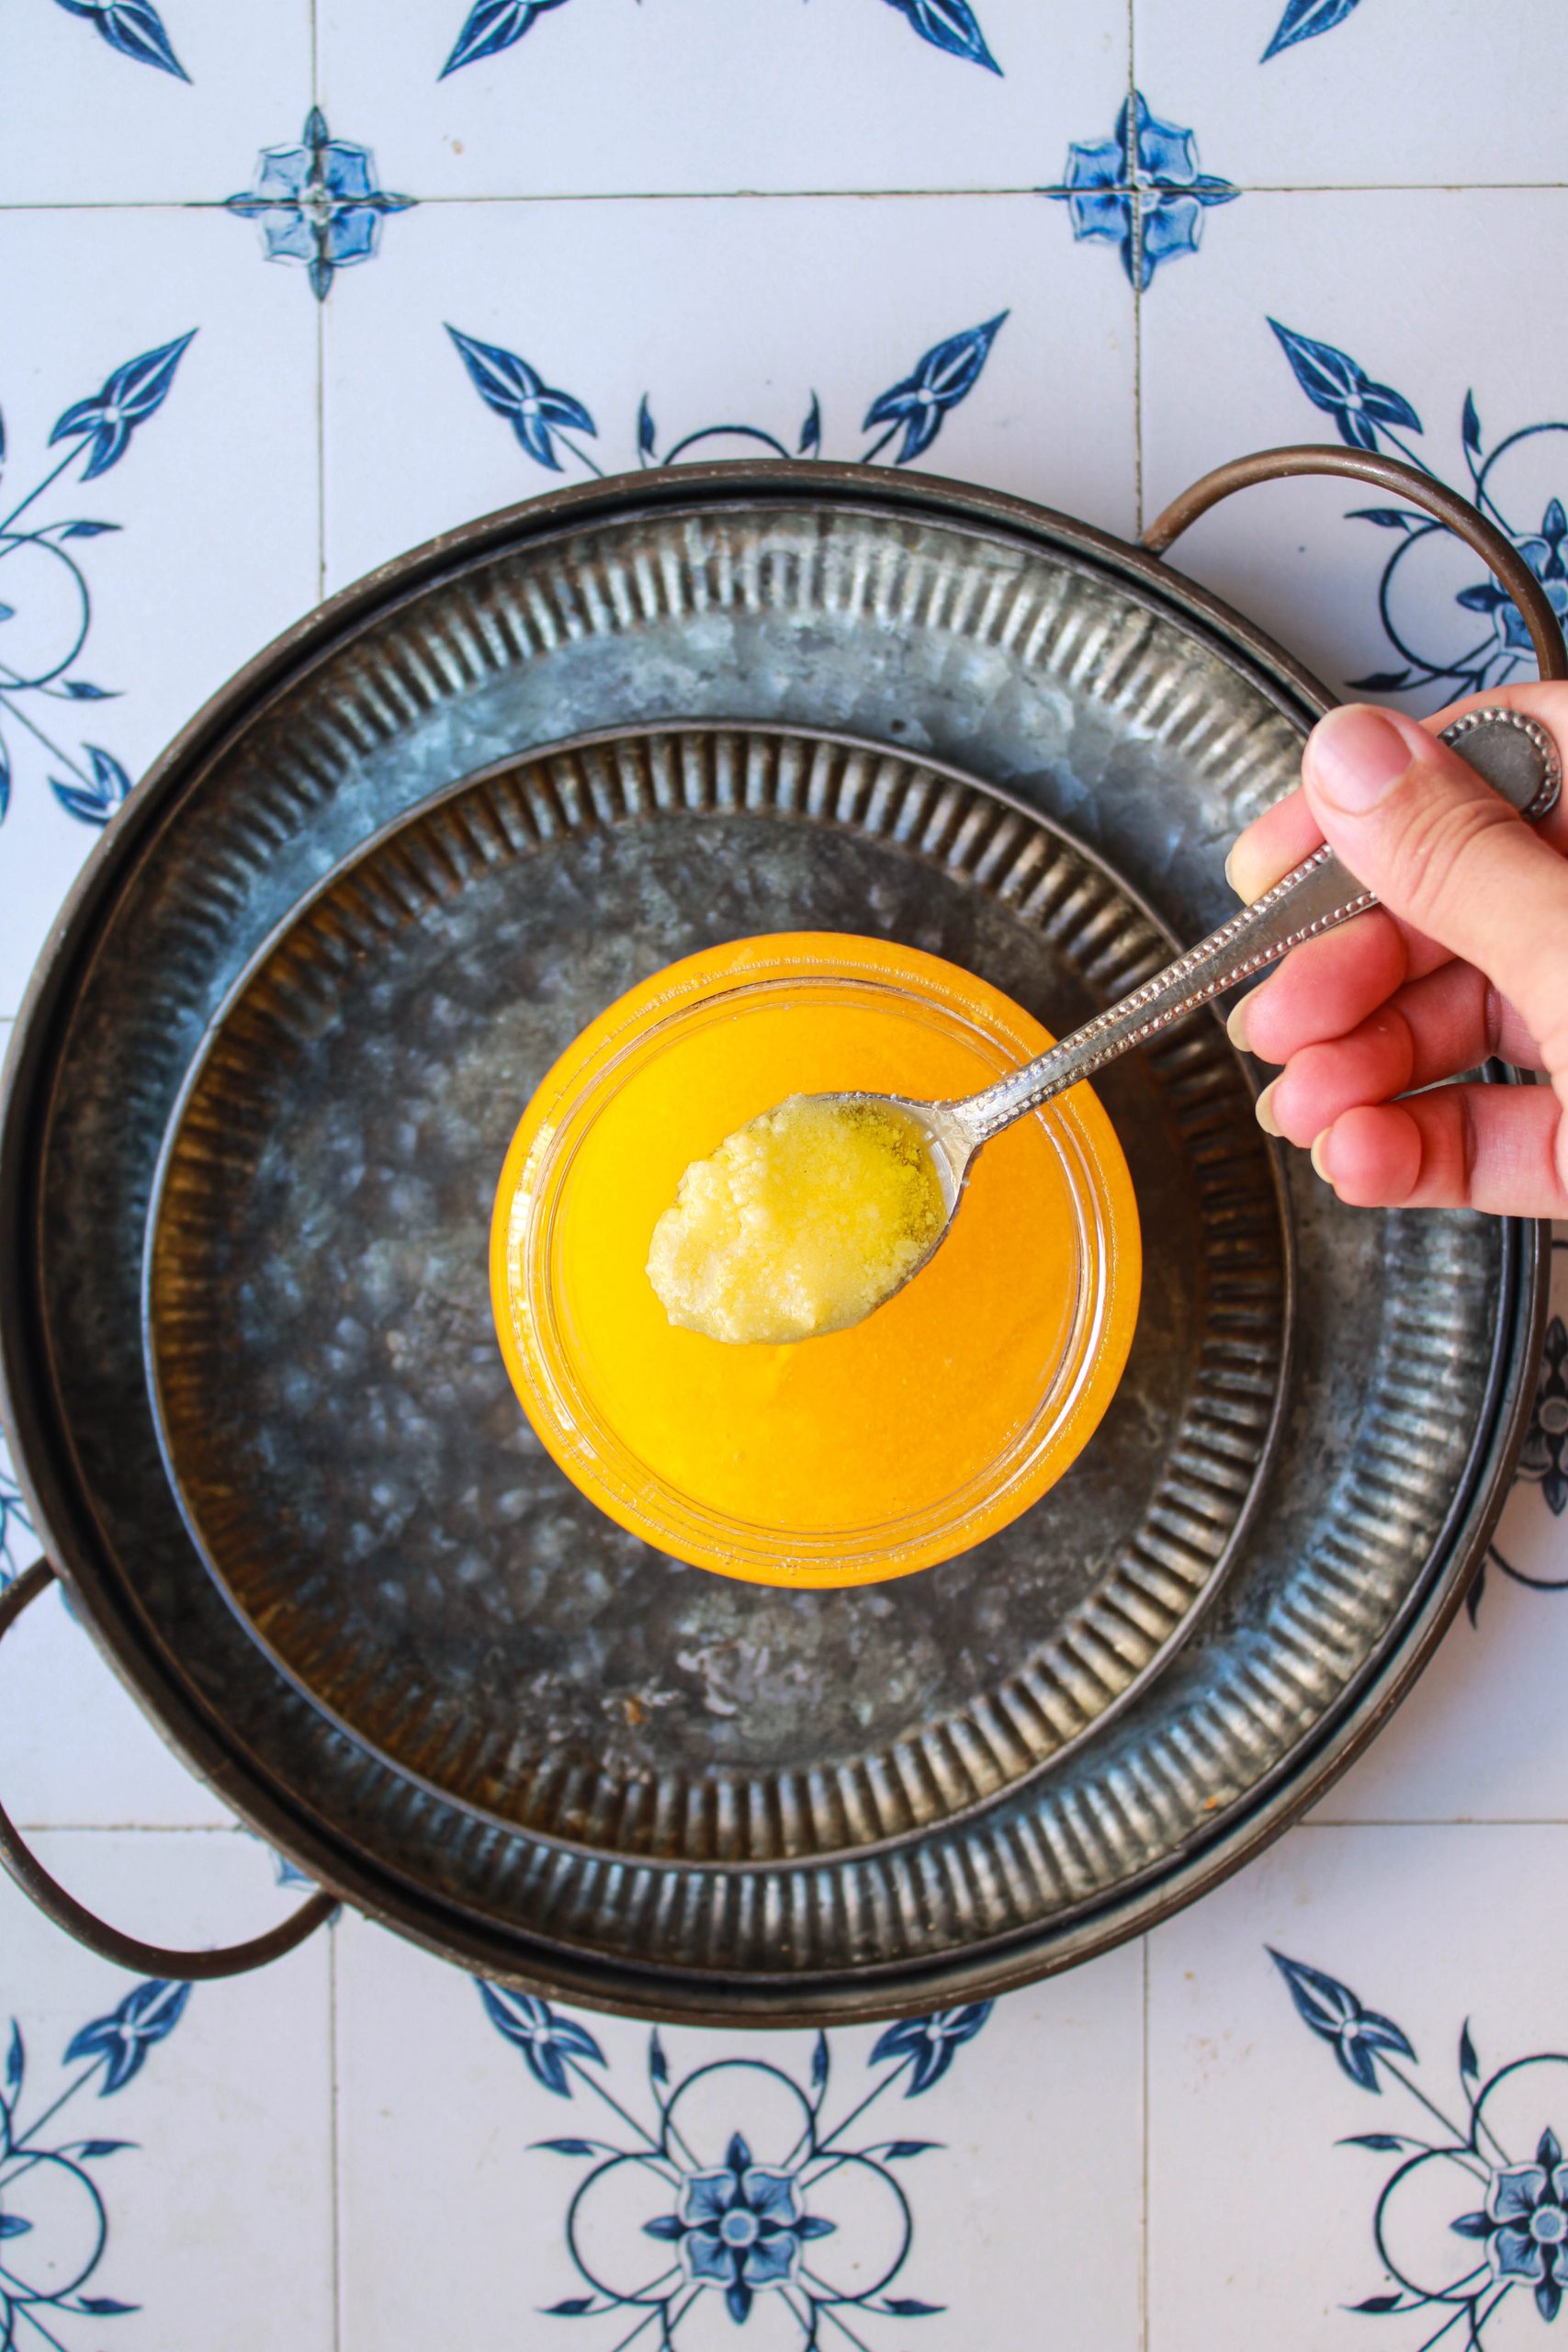
The word danedar describes a grainy or granular texture. In Indian households, this texture is often associated with traditionally prepared ghee.
Unlike ghee that sets into a completely smooth, uniform consistency, danedar ghee contains small, distinct granules that give it a beautiful texture.
For many of us, this is the kind of ghee we grew up eating.
How Do You Get Danedar Ghee at Home?
The texture of homemade ghee depends on several factors, including the butter used, the cooking process, and how the ghee cools.
Here are a few things to keep in mind.
1. Choose good-quality butter.
I prefer Kerrygold butter sticks from Costco because of their rich flavor and higher butterfat content compared with standard American butter.
This is the butter I reach for when making homemade ghee.
2. Cook the butter carefully.
The milk solids need enough time to develop a light golden color and a nutty aroma. However, overheating it can give the ghee a burnt flavor.Bengali ghee has a distinctive aroma and flavor, often developed by cooking the butter until the milk solids brown more deeply..
3. Allow the ghee to cool naturally.
Ghee changes texture as it cools. Depending on the butter and storage temperature, it may develop a grainy or creamy consistency.
4. Remember that butter alone doesn't guarantee a granular texture.
Danedar ghee is influenced by fat crystallization during cooling, as well as the butter's composition and the cooking process. Using Kerrygold is my personal preference, but the texture may vary from batch to batch.
My tip: Don't worry if your ghee looks completely liquid when you first strain it. The final texture develops as it cools.
Indian Cultured Ghee vs. Clarified Butter: What's the Difference?
Although the terms ghee and clarified butter are sometimes used interchangeably, they are not always the same.
The main difference lies in how the cream/butter is prepared and how far the cooking process goes.
What Is Indian Cultured Ghee?
Traditional Indian cultured ghee is commonly made through a process that begins with milk or cream.
At my home,and most Indian households the process involves collecting malai, the cream that forms on boiled milk, and using it to make butter. The butter may be cultured before it is churned, depending on the household's method.
The resulting butter is then heated until the moisture evaporates and the milk solids separate and brown. The clear fat is strained to produce ghee.
Culturing can contribute a characteristic flavor to the butter and the finished ghee.
However, traditional methods vary by region and households. Some families prepare cultured butter from fermented cream, while others make ghee from butter prepared using collected malai.
The important distinction is that cultured ghee starts with cultured dairy, whereas ghee made from regular sweet cream butter does not.
What Is Clarified Butter?
Clarified butter is made by heating butter to separate the water and milk solids from the fat.
The clear milkfat is then separated from the remaining solids.
Unlike ghee, clarified butter is generally heated only long enough to separate the components, without deliberately browning the milk solids to develop the deeper, nutty flavor associated with ghee.
Clarified butter has a mild, buttery flavor and is used in various cuisines for sautéing, cooking, and preparing sauces.
Is Homemade Ghee From Kerrygold Butter Cultured Ghee?
No, it isn't.
The ghee in this recipe is made by heating Kerrygold butter until the water evaporates and the milk solids turn golden brown.
This process produces ghee with a rich, nutty flavor.
However, using Kerrygold butter doesn't make the finished ghee traditional Indian cultured ghee. You have to use cultured butter to make cultured ghee.
For this recipe, I call this ghee either homemade ghee or clarified ghee.
Indian Cultured Ghee vs. Clarified Butter
| Feature | Indian Cultured Ghee | Clarified Butter |
|---|---|---|
| Starting ingredient | Often butter made from cultured dairy, depending on the method | Butter |
| Culturing | The dairy is cultured before the ghee-making stage | Not required |
| Cooking process | Water evaporates and milk solids are heated until golden | Water and milk solids are separated, usually without browning the solids |
| Flavor | Often rich, aromatic, and sometimes has a subtle tang | Generally mild and buttery |
| Texture | Develops a granular or danedar consistency | Often smooth, depending on cooling and the fat in the butter |
| Common uses | Indian cooking, dals, rotis, parathas, and mithai | Sautéing, cooking, sauces, and baking |
One important note: Ghee and clarified butter exist on a spectrum of preparation methods. Their names and techniques can overlap, and not every traditional Indian ghee is made from cultured butter.
For this recipe, the extended heating process develops the characteristic nutty flavor of ghee, making it different from butter that has simply been clarified.
Ingredients You'll Need
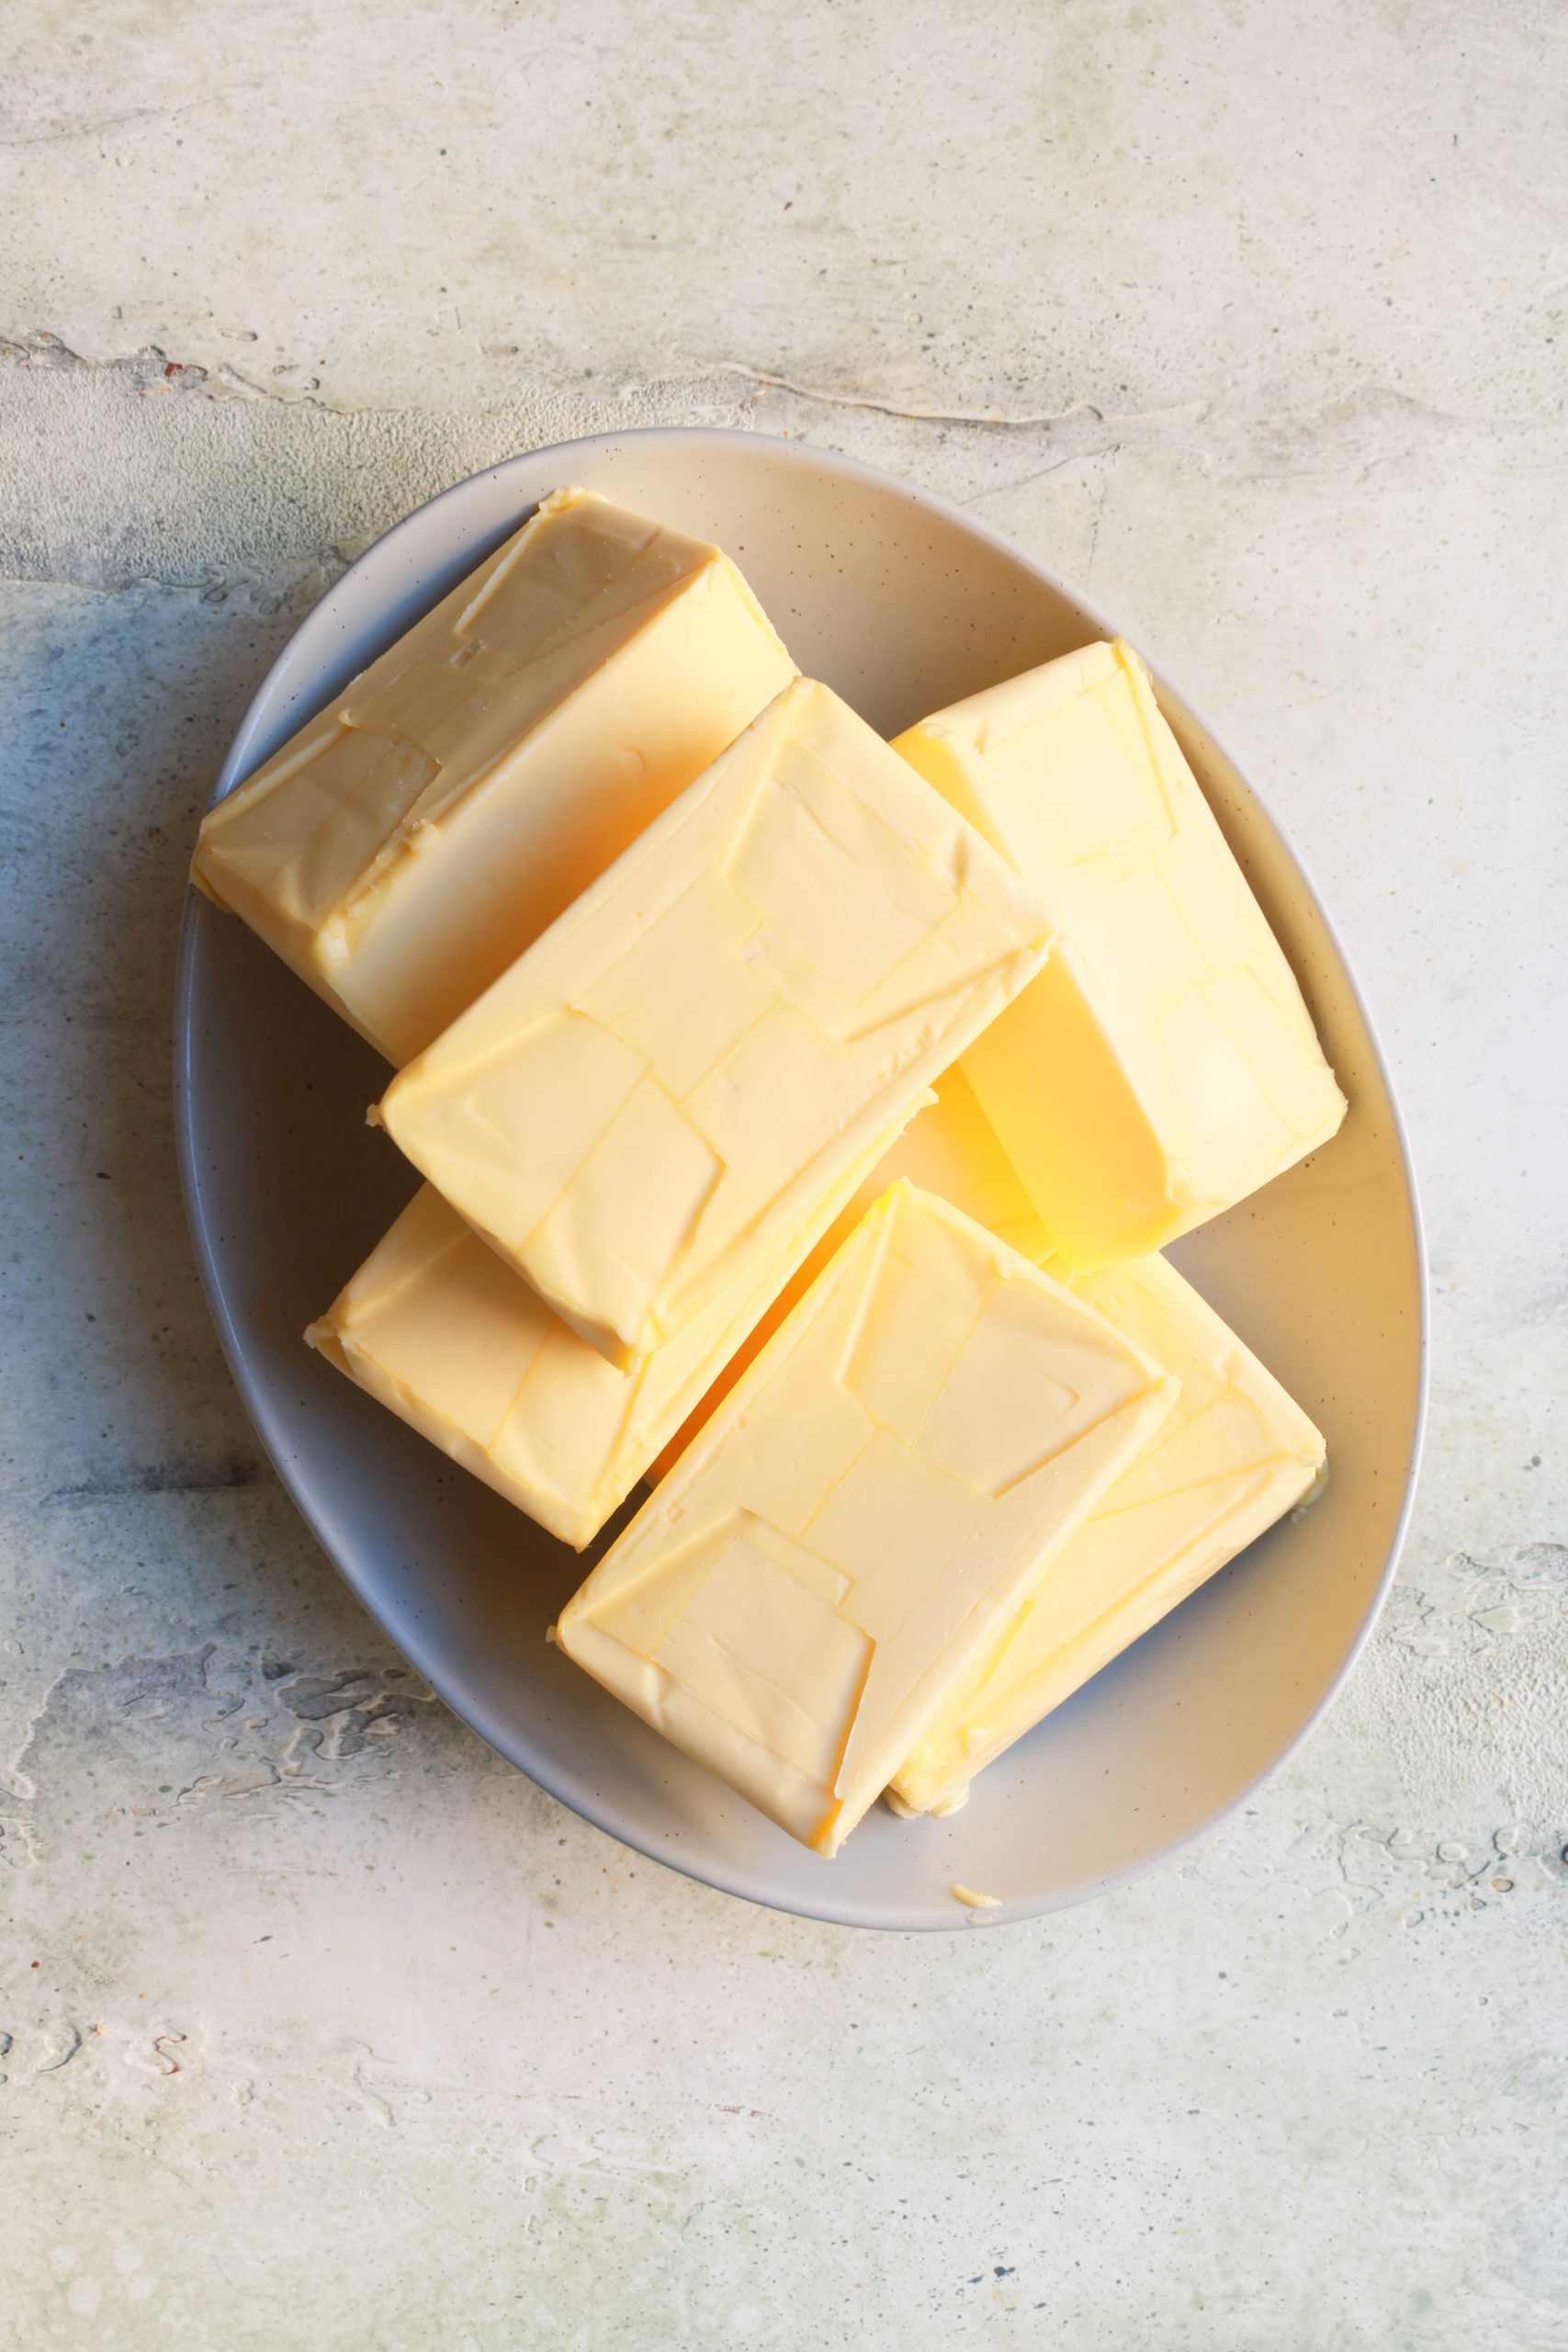
I use Kerrygold butter sticks from Costco to make this homemade ghee.
Should you use salted or unsalted butter?
I recommend unsalted butter for homemade ghee. It gives you better control over the flavor, especially when using ghee in Indian sweets and desserts.
If you use salted butter, the finished ghee may have a slightly different flavor. You should also expect the salt to remain concentrated in the finished fat.
My recommendation: Use unsalted Kerrygold butter sticks for this recipe.
How to Make Ghee in the Instant Pot
Making homemade ghee from butter is a simple process. The butter melts, the moisture evaporates, and the milk solids separate and brown. Once the ghee develops a rich, nutty aroma, it is ready to be strained.
The exact cooking time depends on the amount of butter you use and the heat output of your appliance.
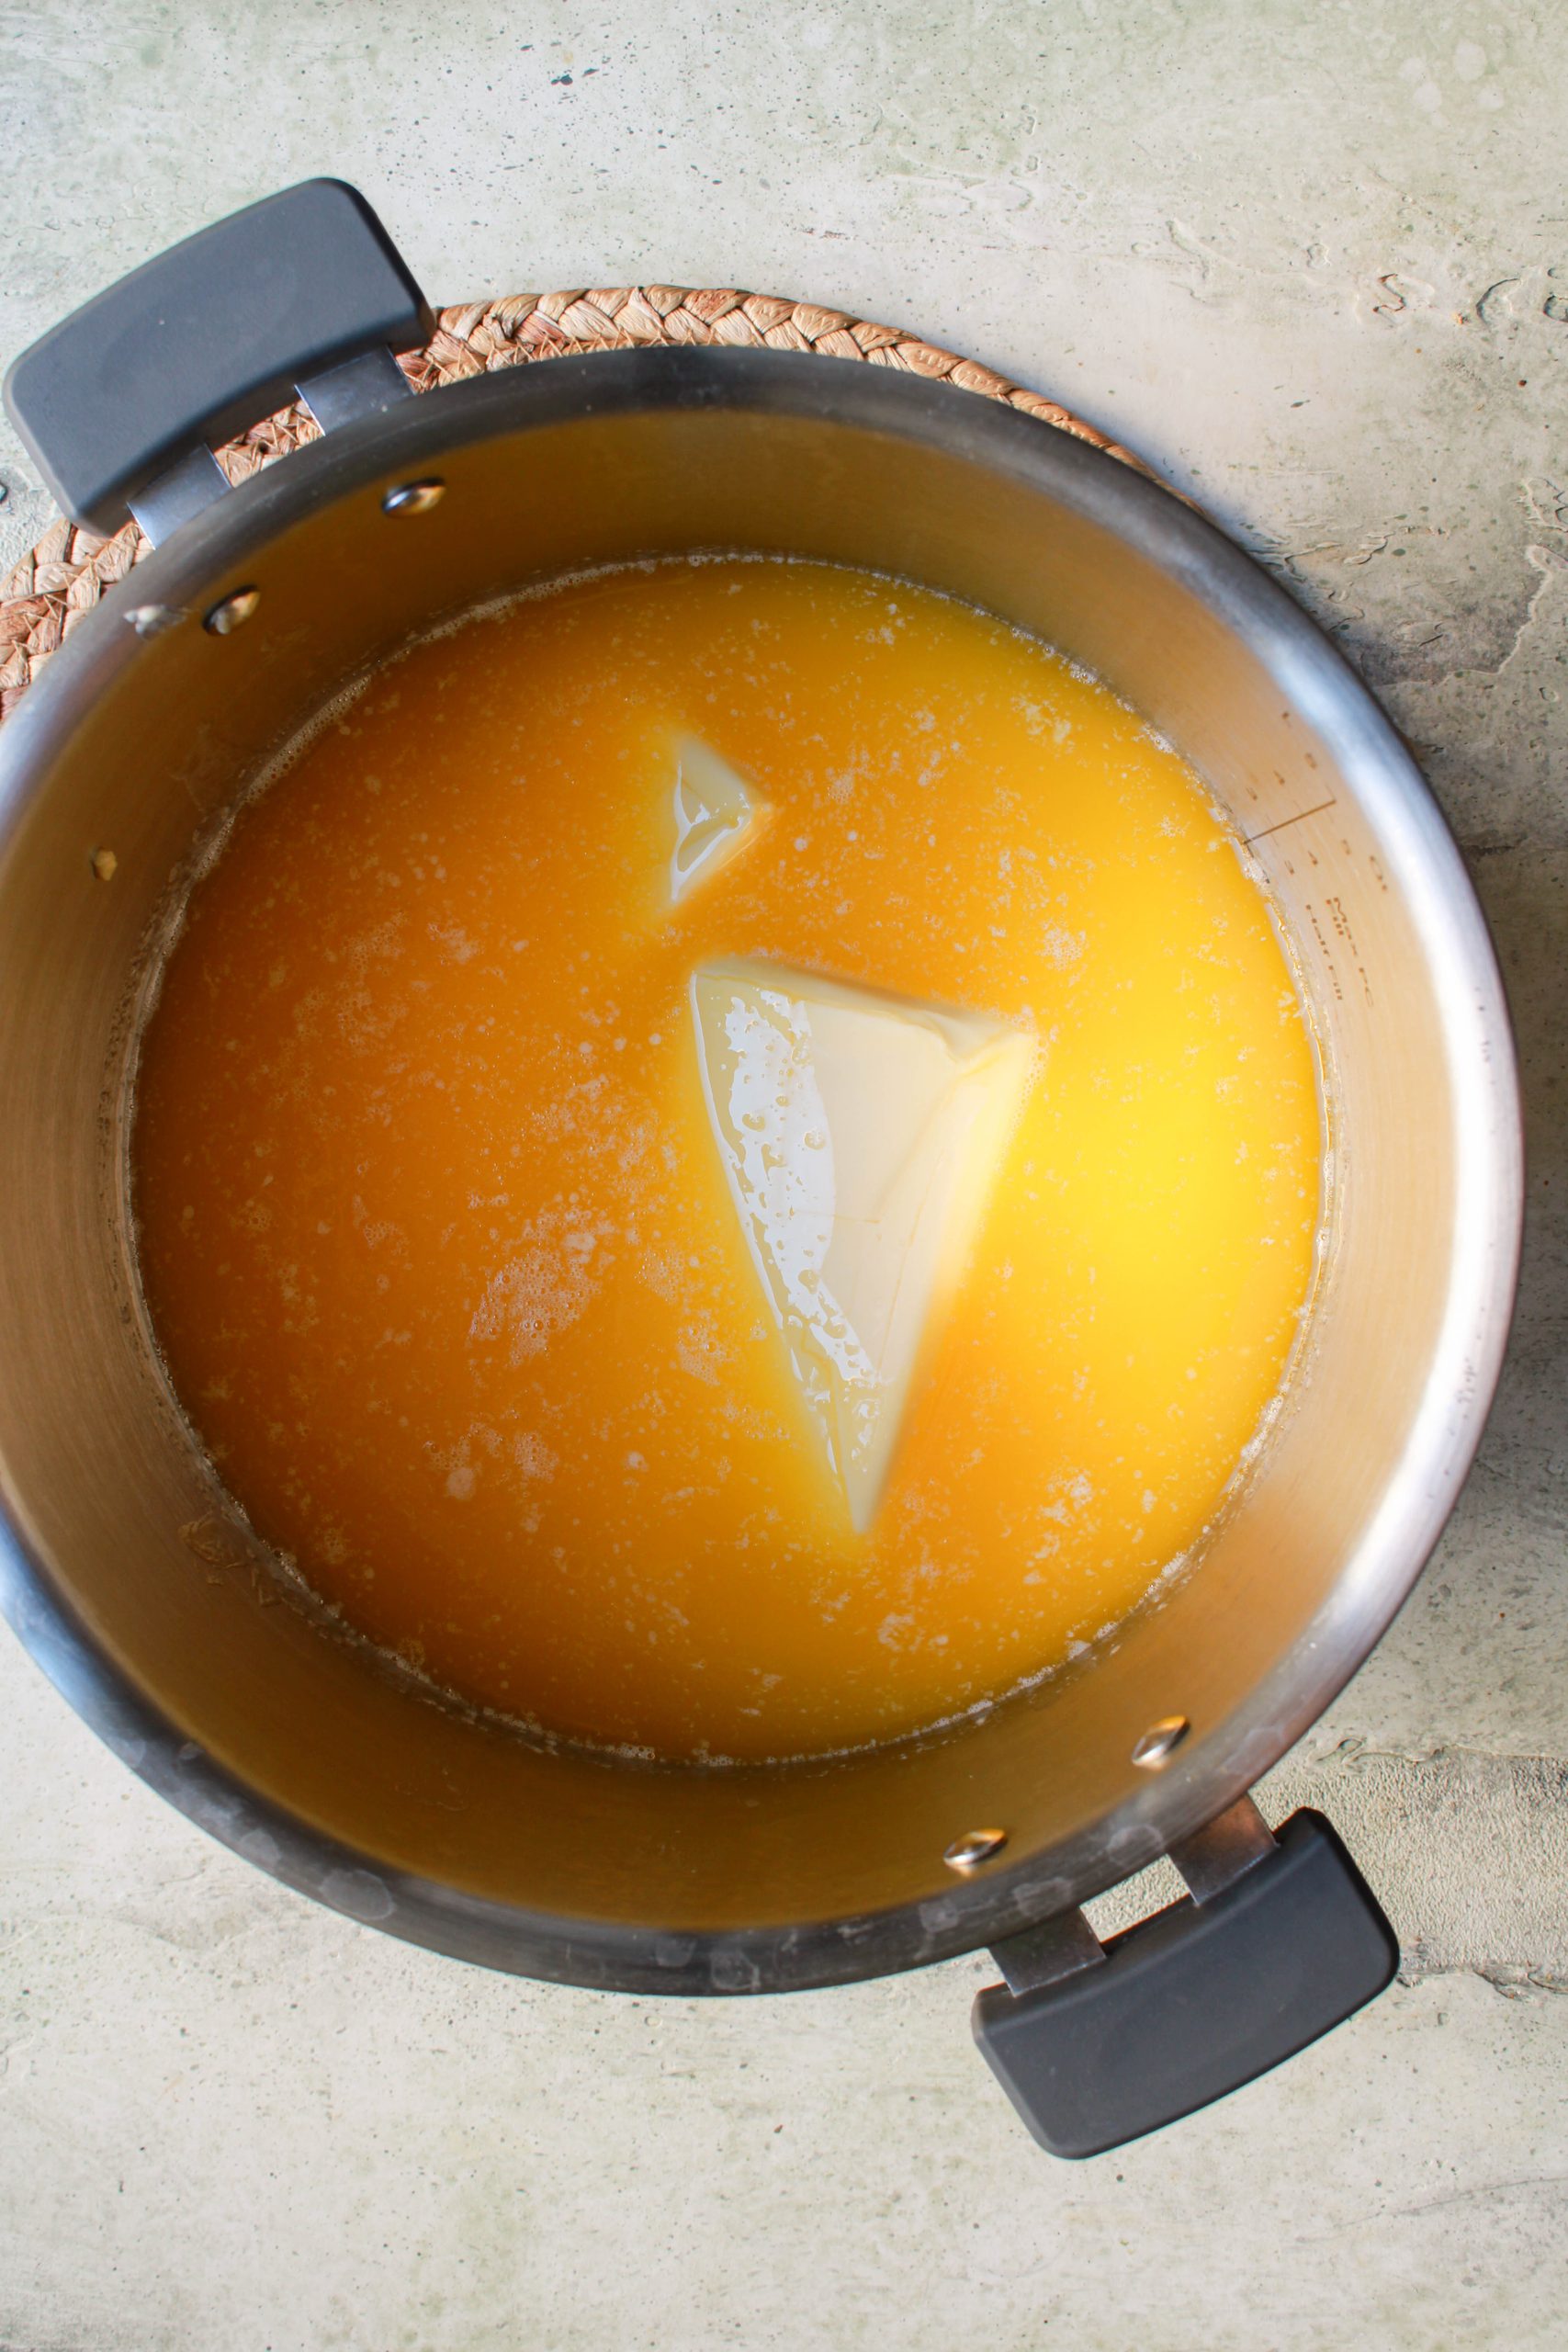
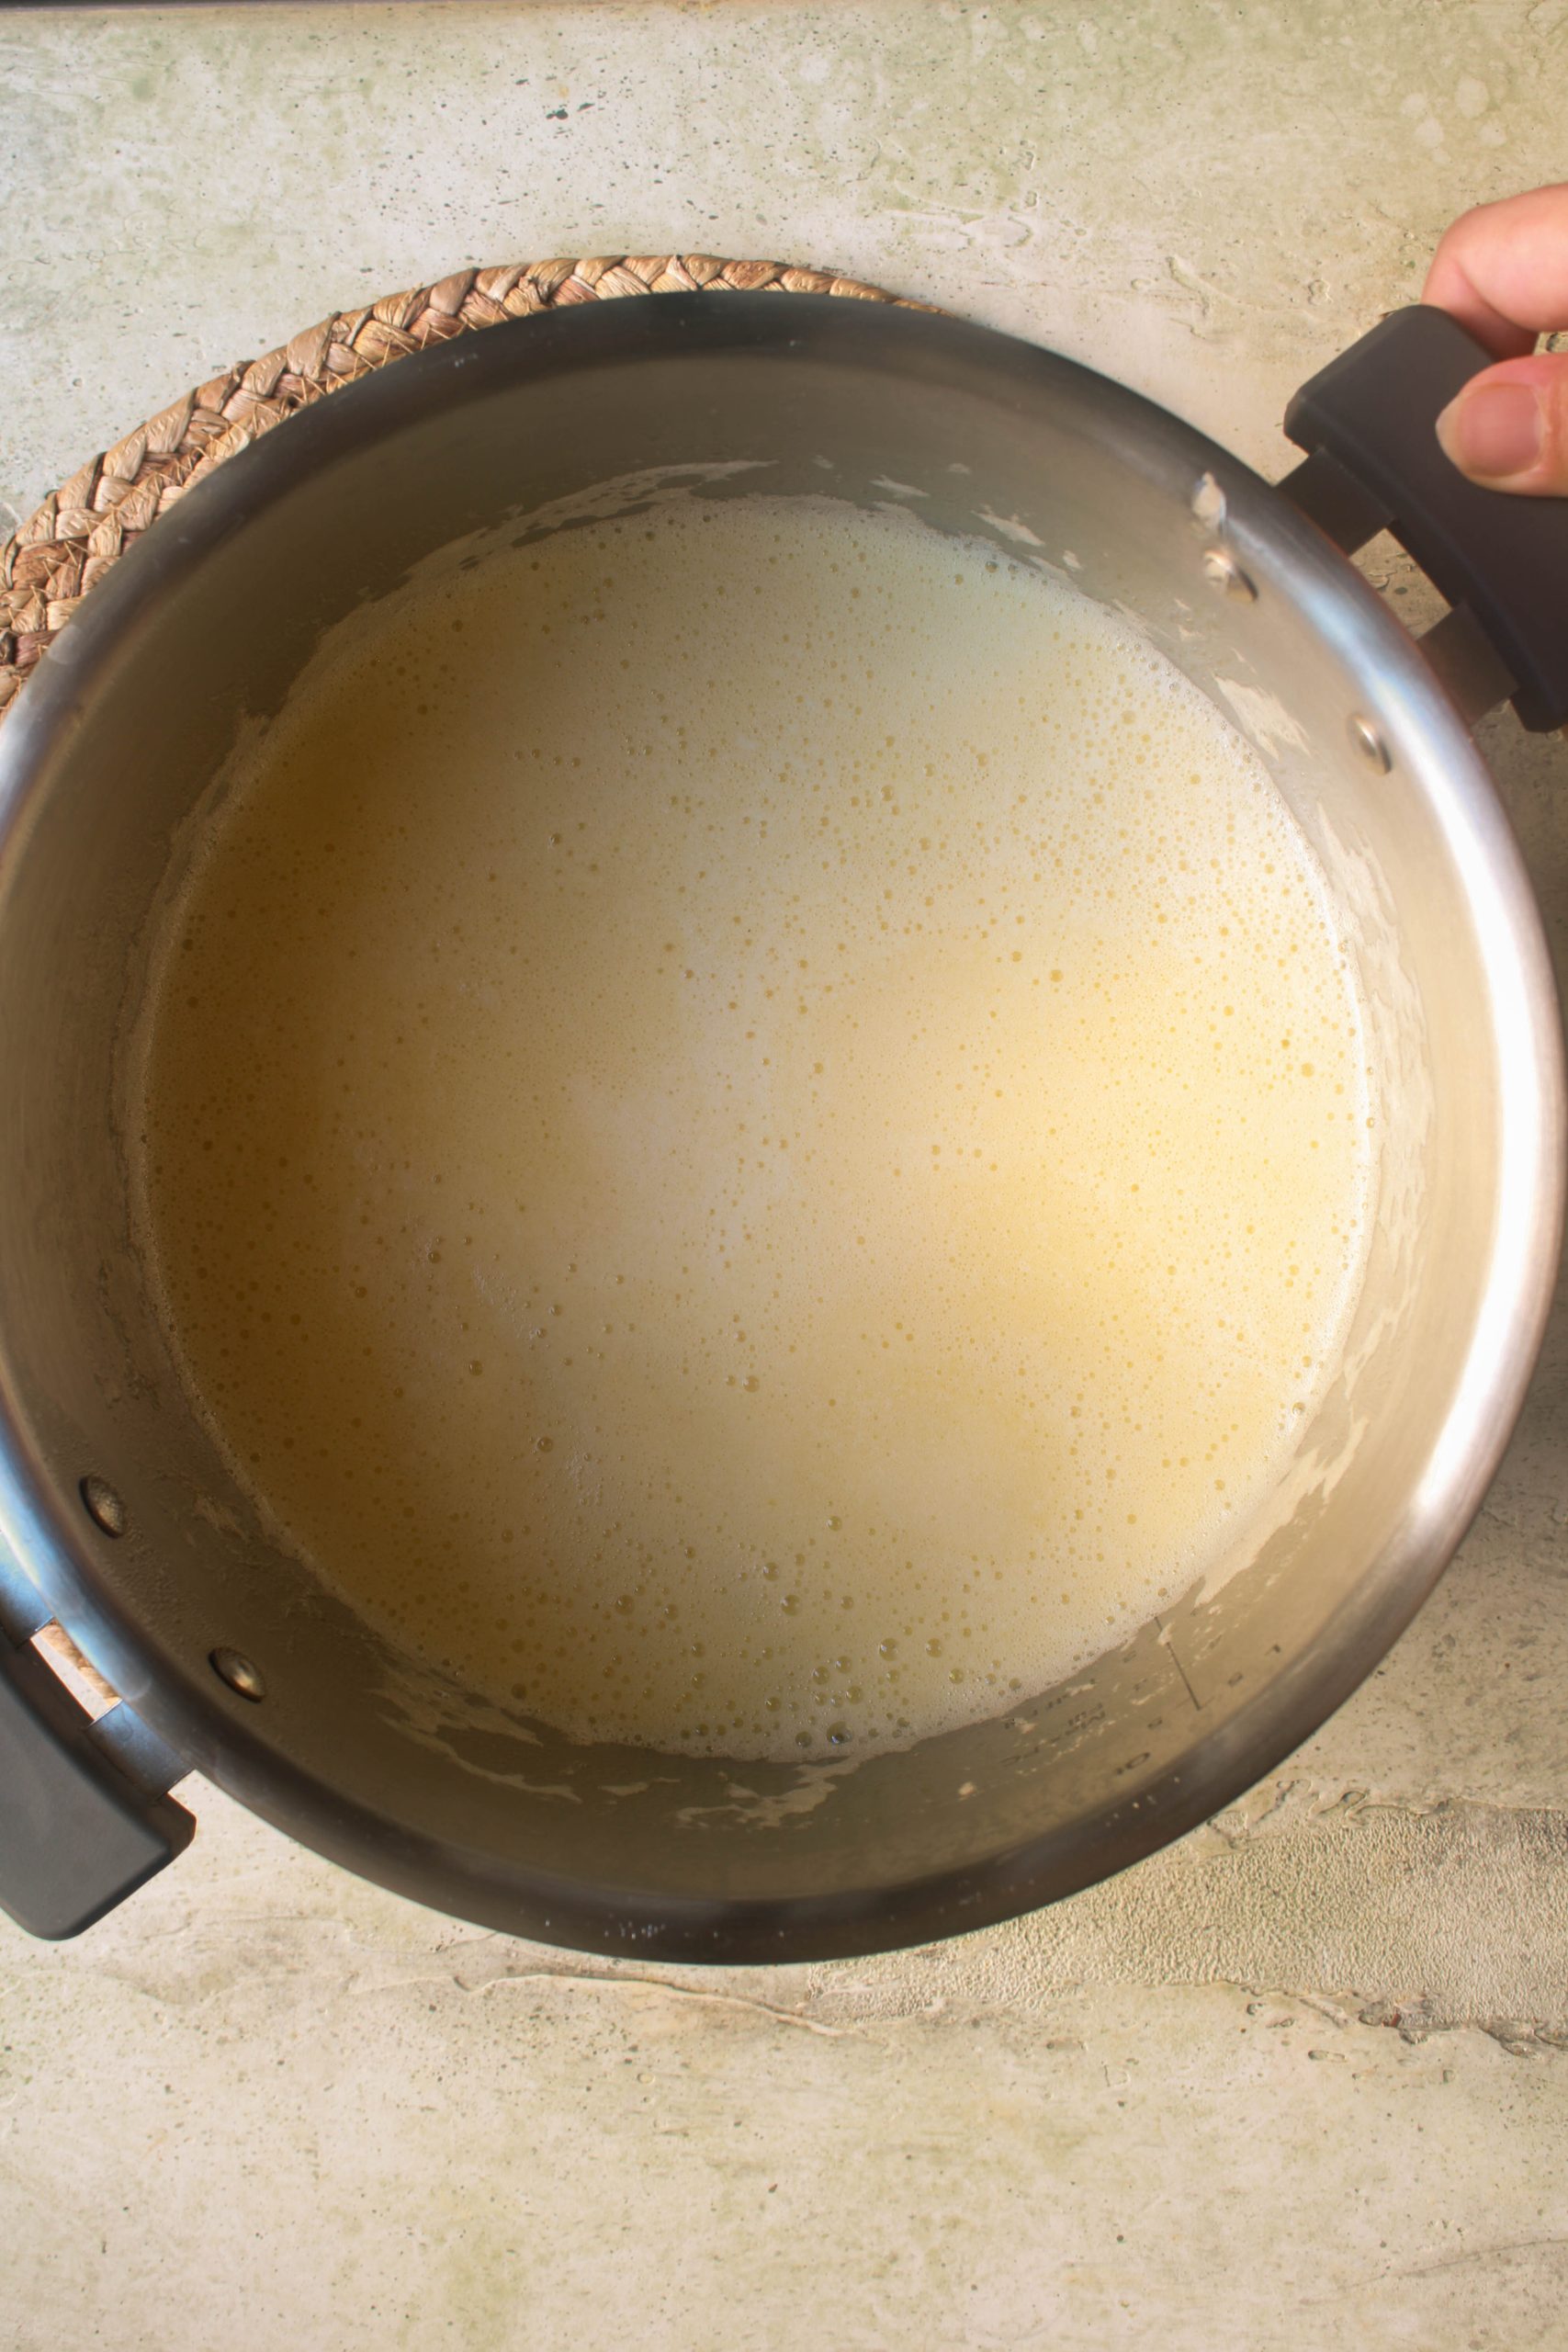
Add the Butter to the Instant Pot
Unwrap your Kerrygold butter sticks and place them directly into the inner stainless steel pot of your Instant Pot.
Select the Sauté function on your Instant Pot. Set the timer manually for 15 minutes.
Allow the butter to melt completely. As it heats, you'll notice the butter beginning to bubble and foam.
At this stage, the water in the butter is evaporating, and the milk solids are starting to separate from the fat.
You may see white foam forming on the surface. This is normal.
It might feel the butter will overflow, but don't worry it wouldn't. If needed you can scoop a little white foam out and discard.
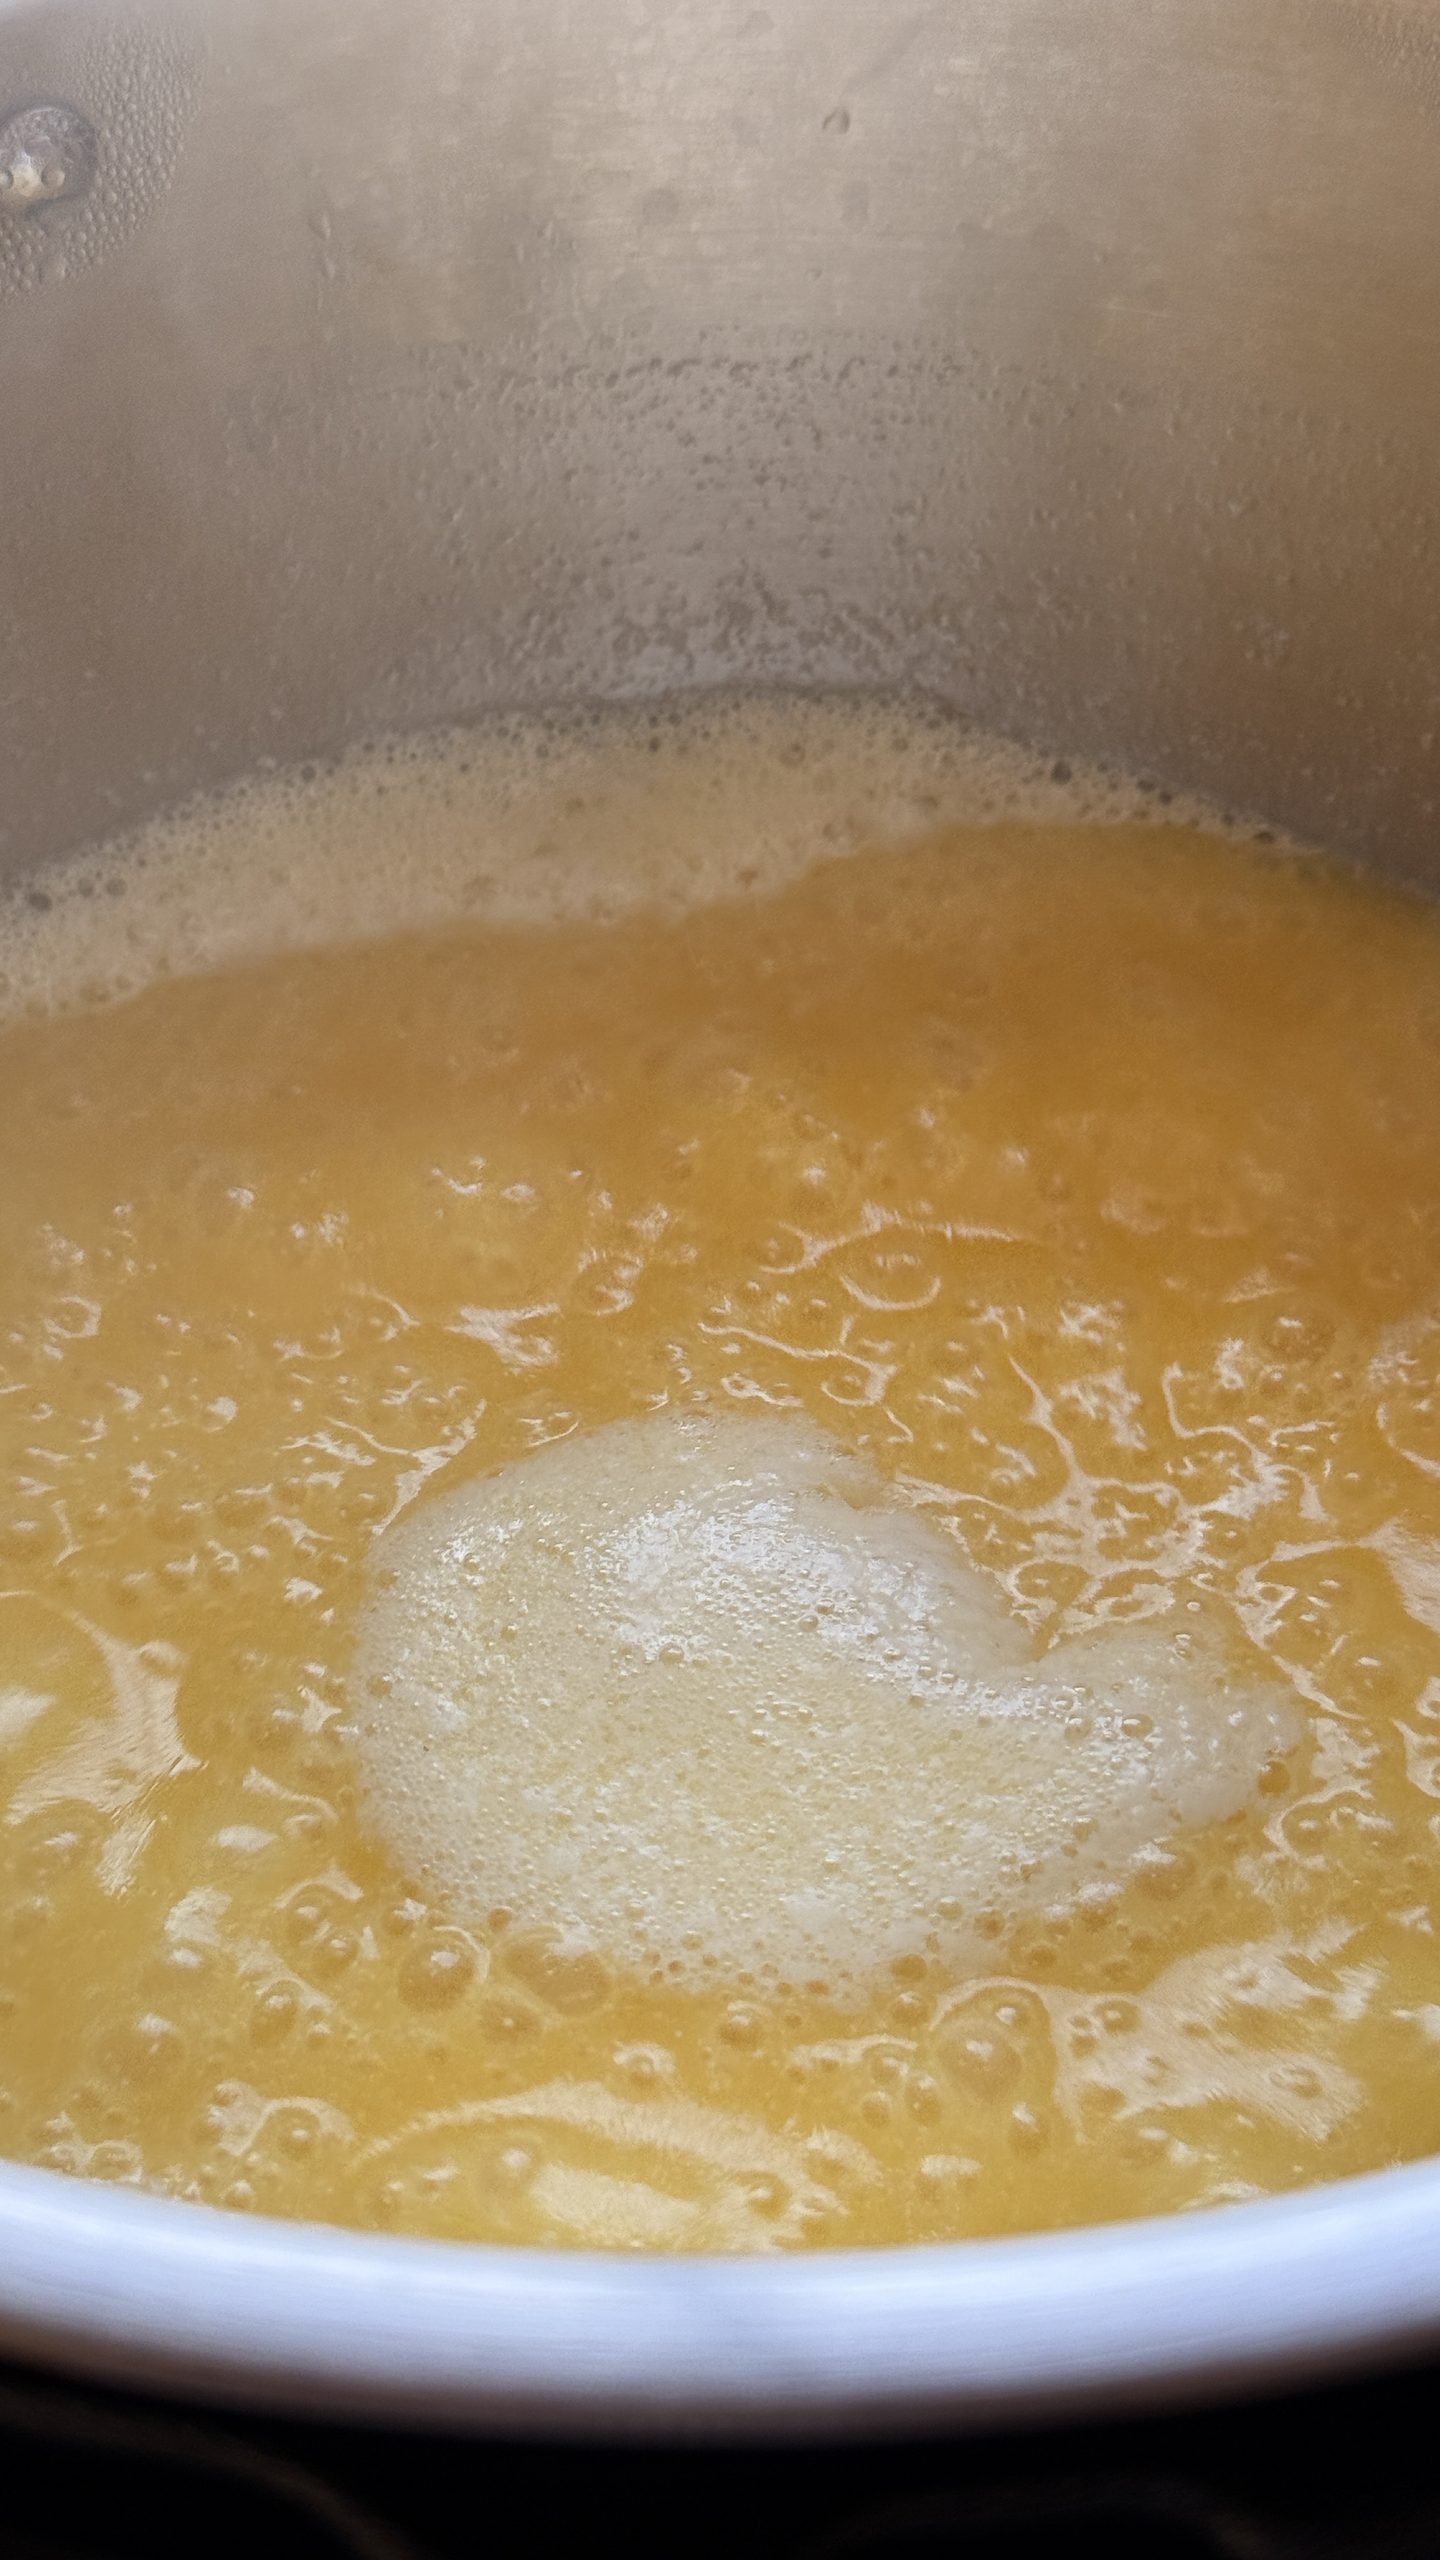
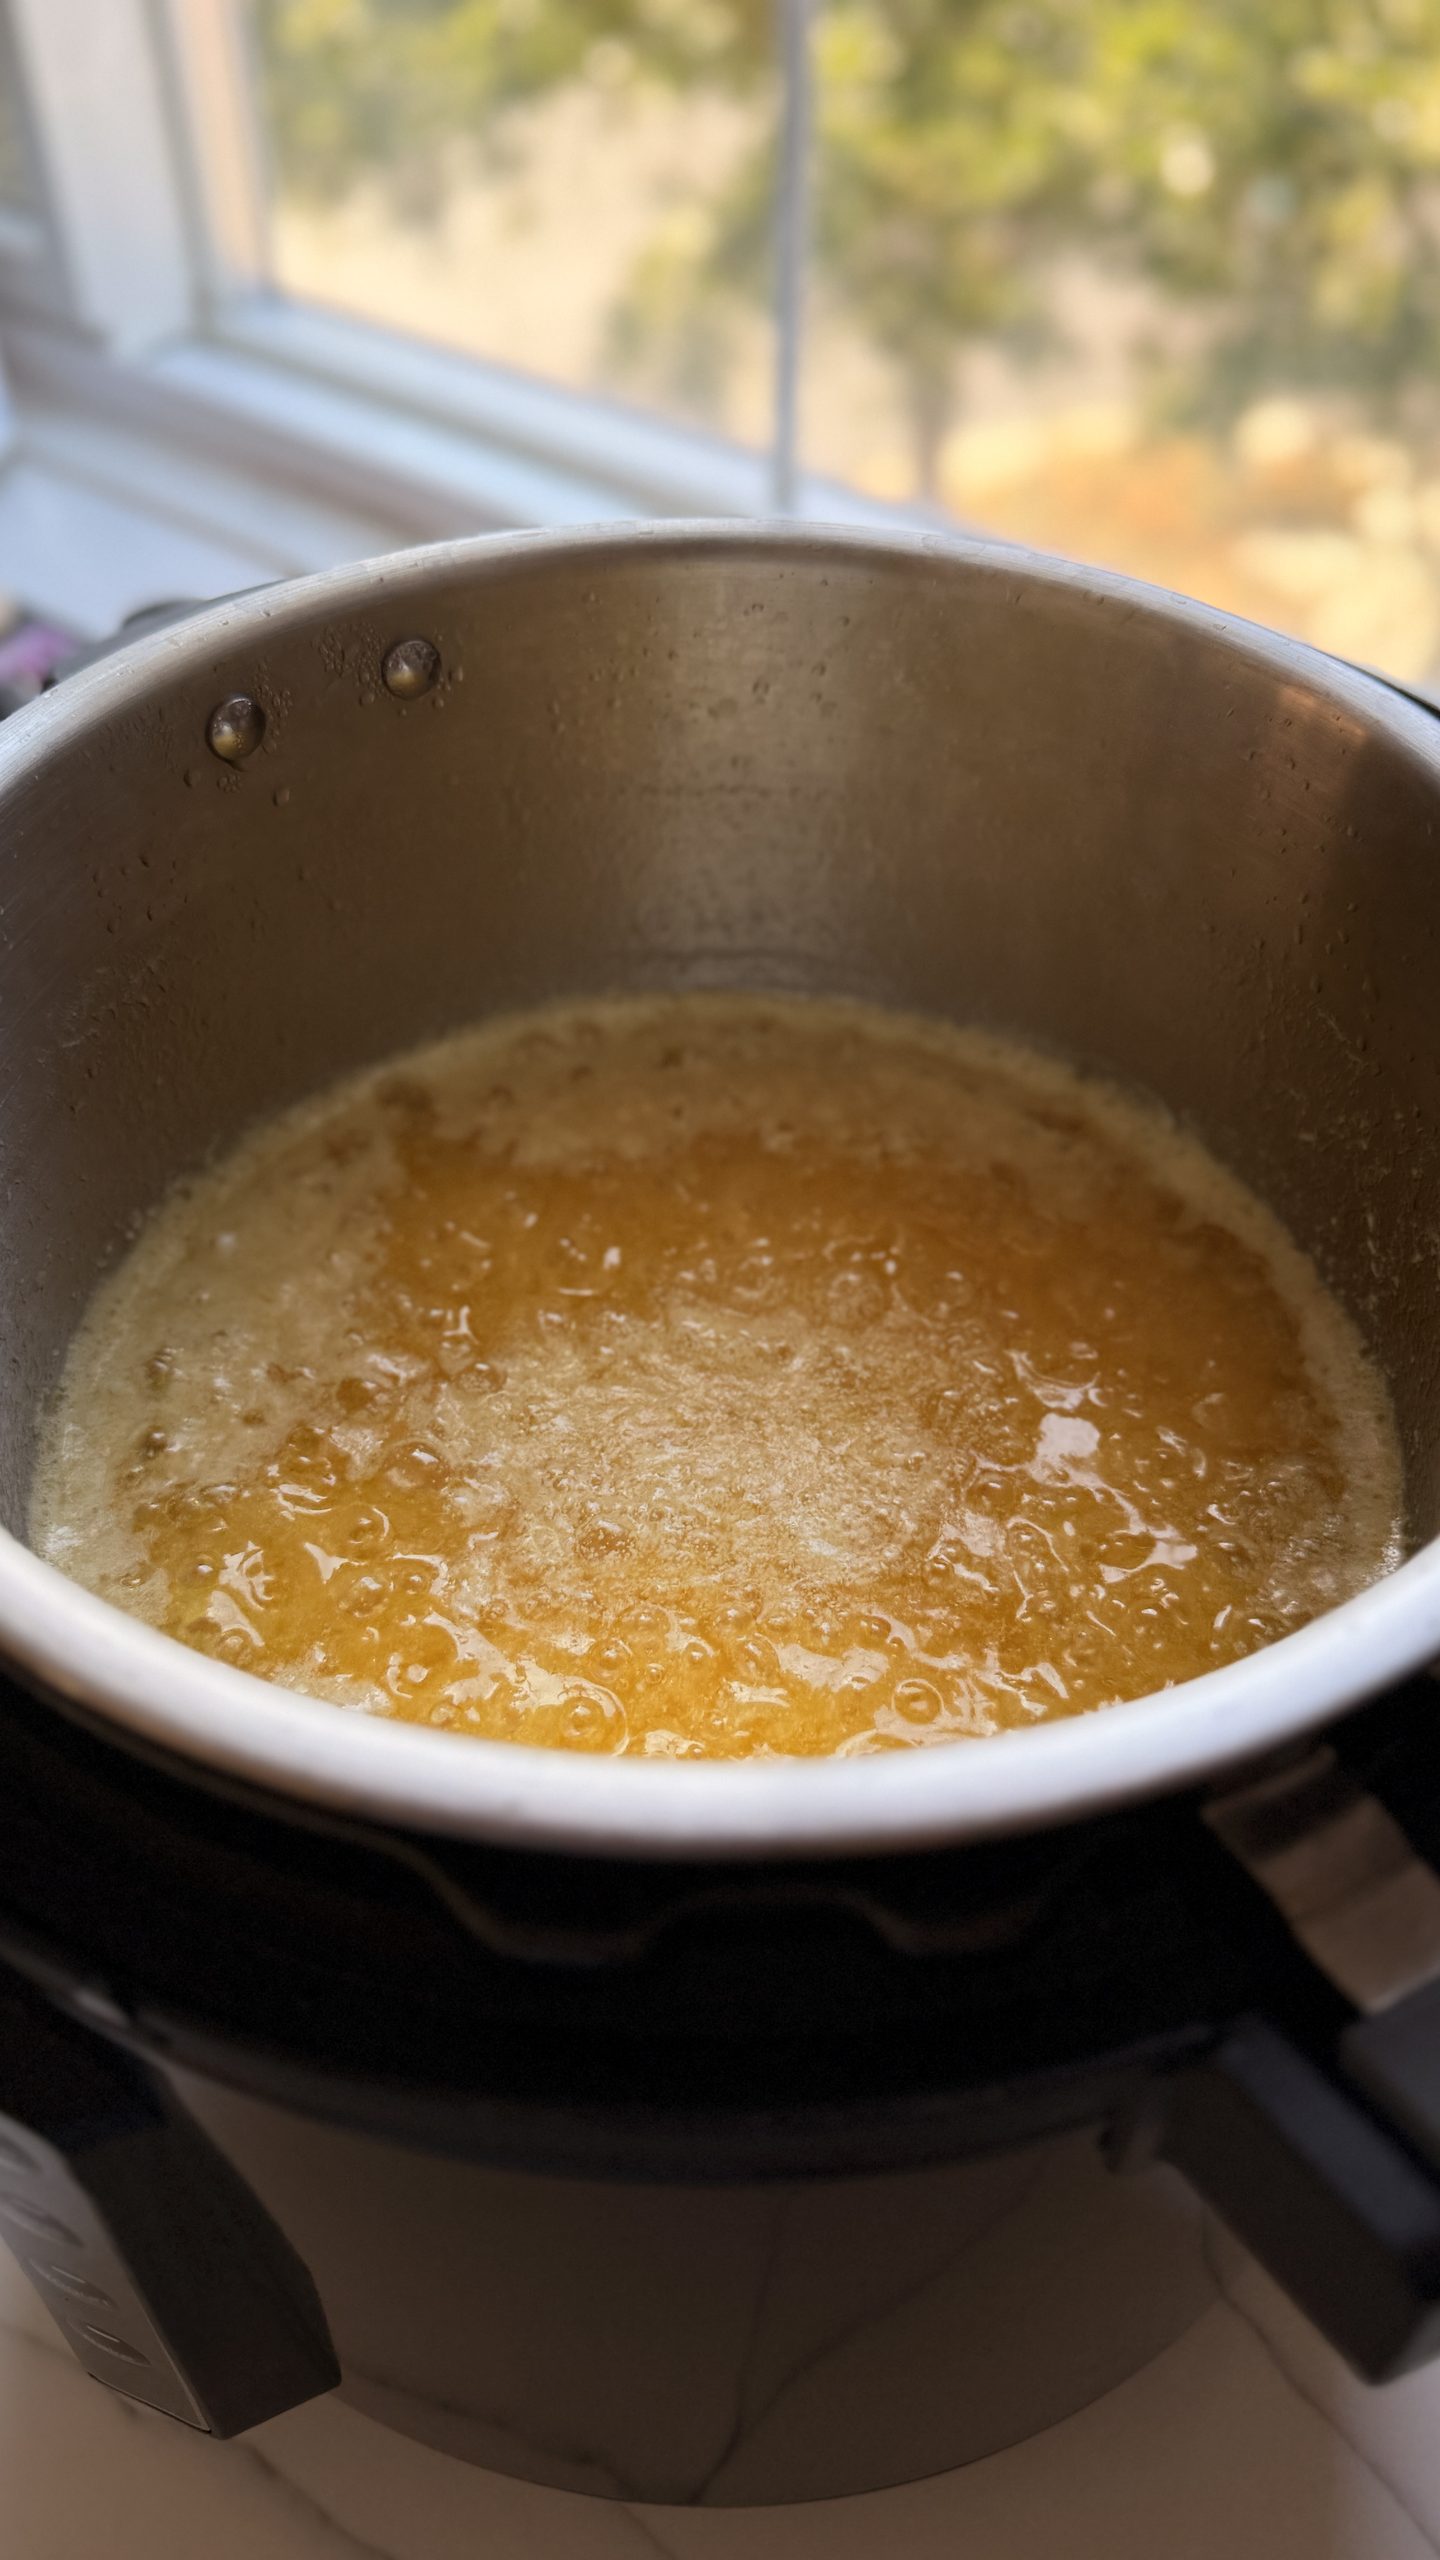
Let the butter simmer
Continue heating the butter while keeping an eye on its appearance. You don't have to stir the ghee at all while cooking it in the Instant Pot.
The butter will bubble as the moisture evaporates. Gradually, the bubbling will change, and the milk solids will begin settling toward the bottom.
You may notice that the foam becomes thinner and the sound of bubbling changes as less water remains.
This is an important stage in making ghee. You want the moisture to evaporate while allowing the milk solids to develop a light golden color.
Watch for the golden color
As the butter continues cooking, the milk solids at the bottom will gradually turn golden brown.
The milkfat will become clearer and take on a beautiful golden color.
You'll also notice a warm, nutty aroma. This is the characteristic smell of properly cooked ghee. This happens around the 12-minute mark.
At this point, watch the pot closely. The difference between beautifully toasted milk solids and burnt solids can be only a short amount of time.
Switch off the Instant Pot as soon as the ghee reaches this stage..
Let the Ghee Settle
Allow the ghee to rest briefly after switching off the Instant Pot.
The milk solids will settle at the bottom, leaving the golden fat above them.
Be careful when handling the inner pot. It will be extremely hot, and the residual heat can continue cooking the milk solids.
If the solids are already golden brown, don't leave the ghee sitting in the hot pot for too long.
Strain the Homemade Ghee
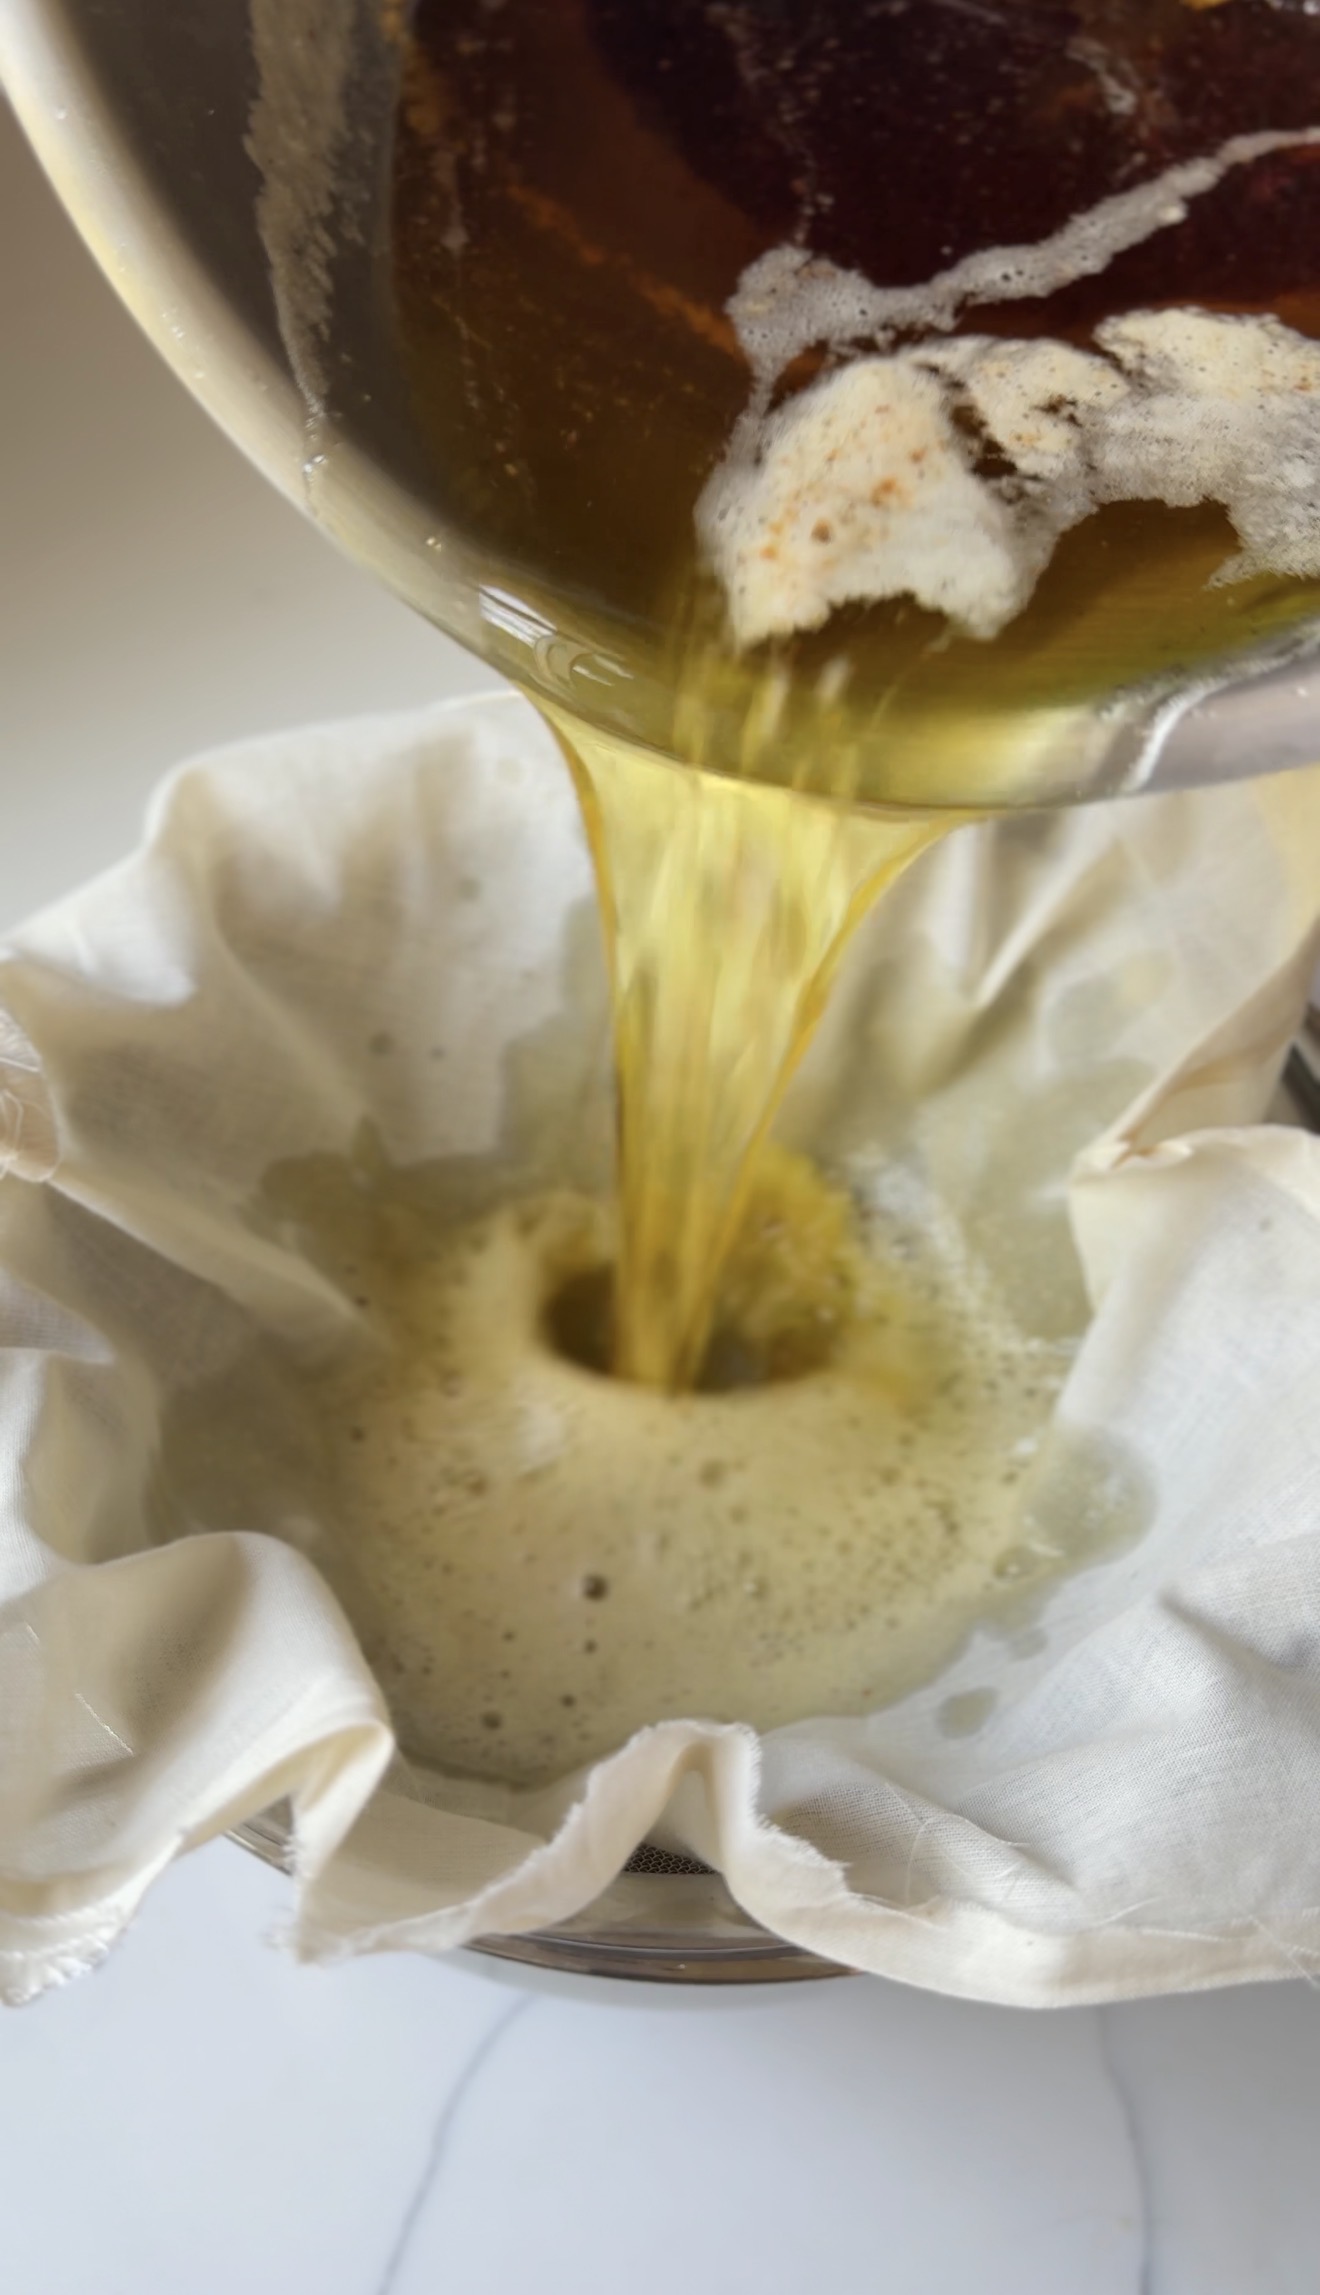
Place a fine-mesh strainer lined with a clean, dry cheesecloth over a heat-safe bowl or jar.
Carefully pour the ghee through the strainer to separate the golden fat from the milk solids.
The strained ghee should look clear and golden when warm.
Make sure your storage jar is clean and completely dry before transferring the ghee.
Let the Ghee Cool
Allow the ghee to cool before securing the lid on the jar.
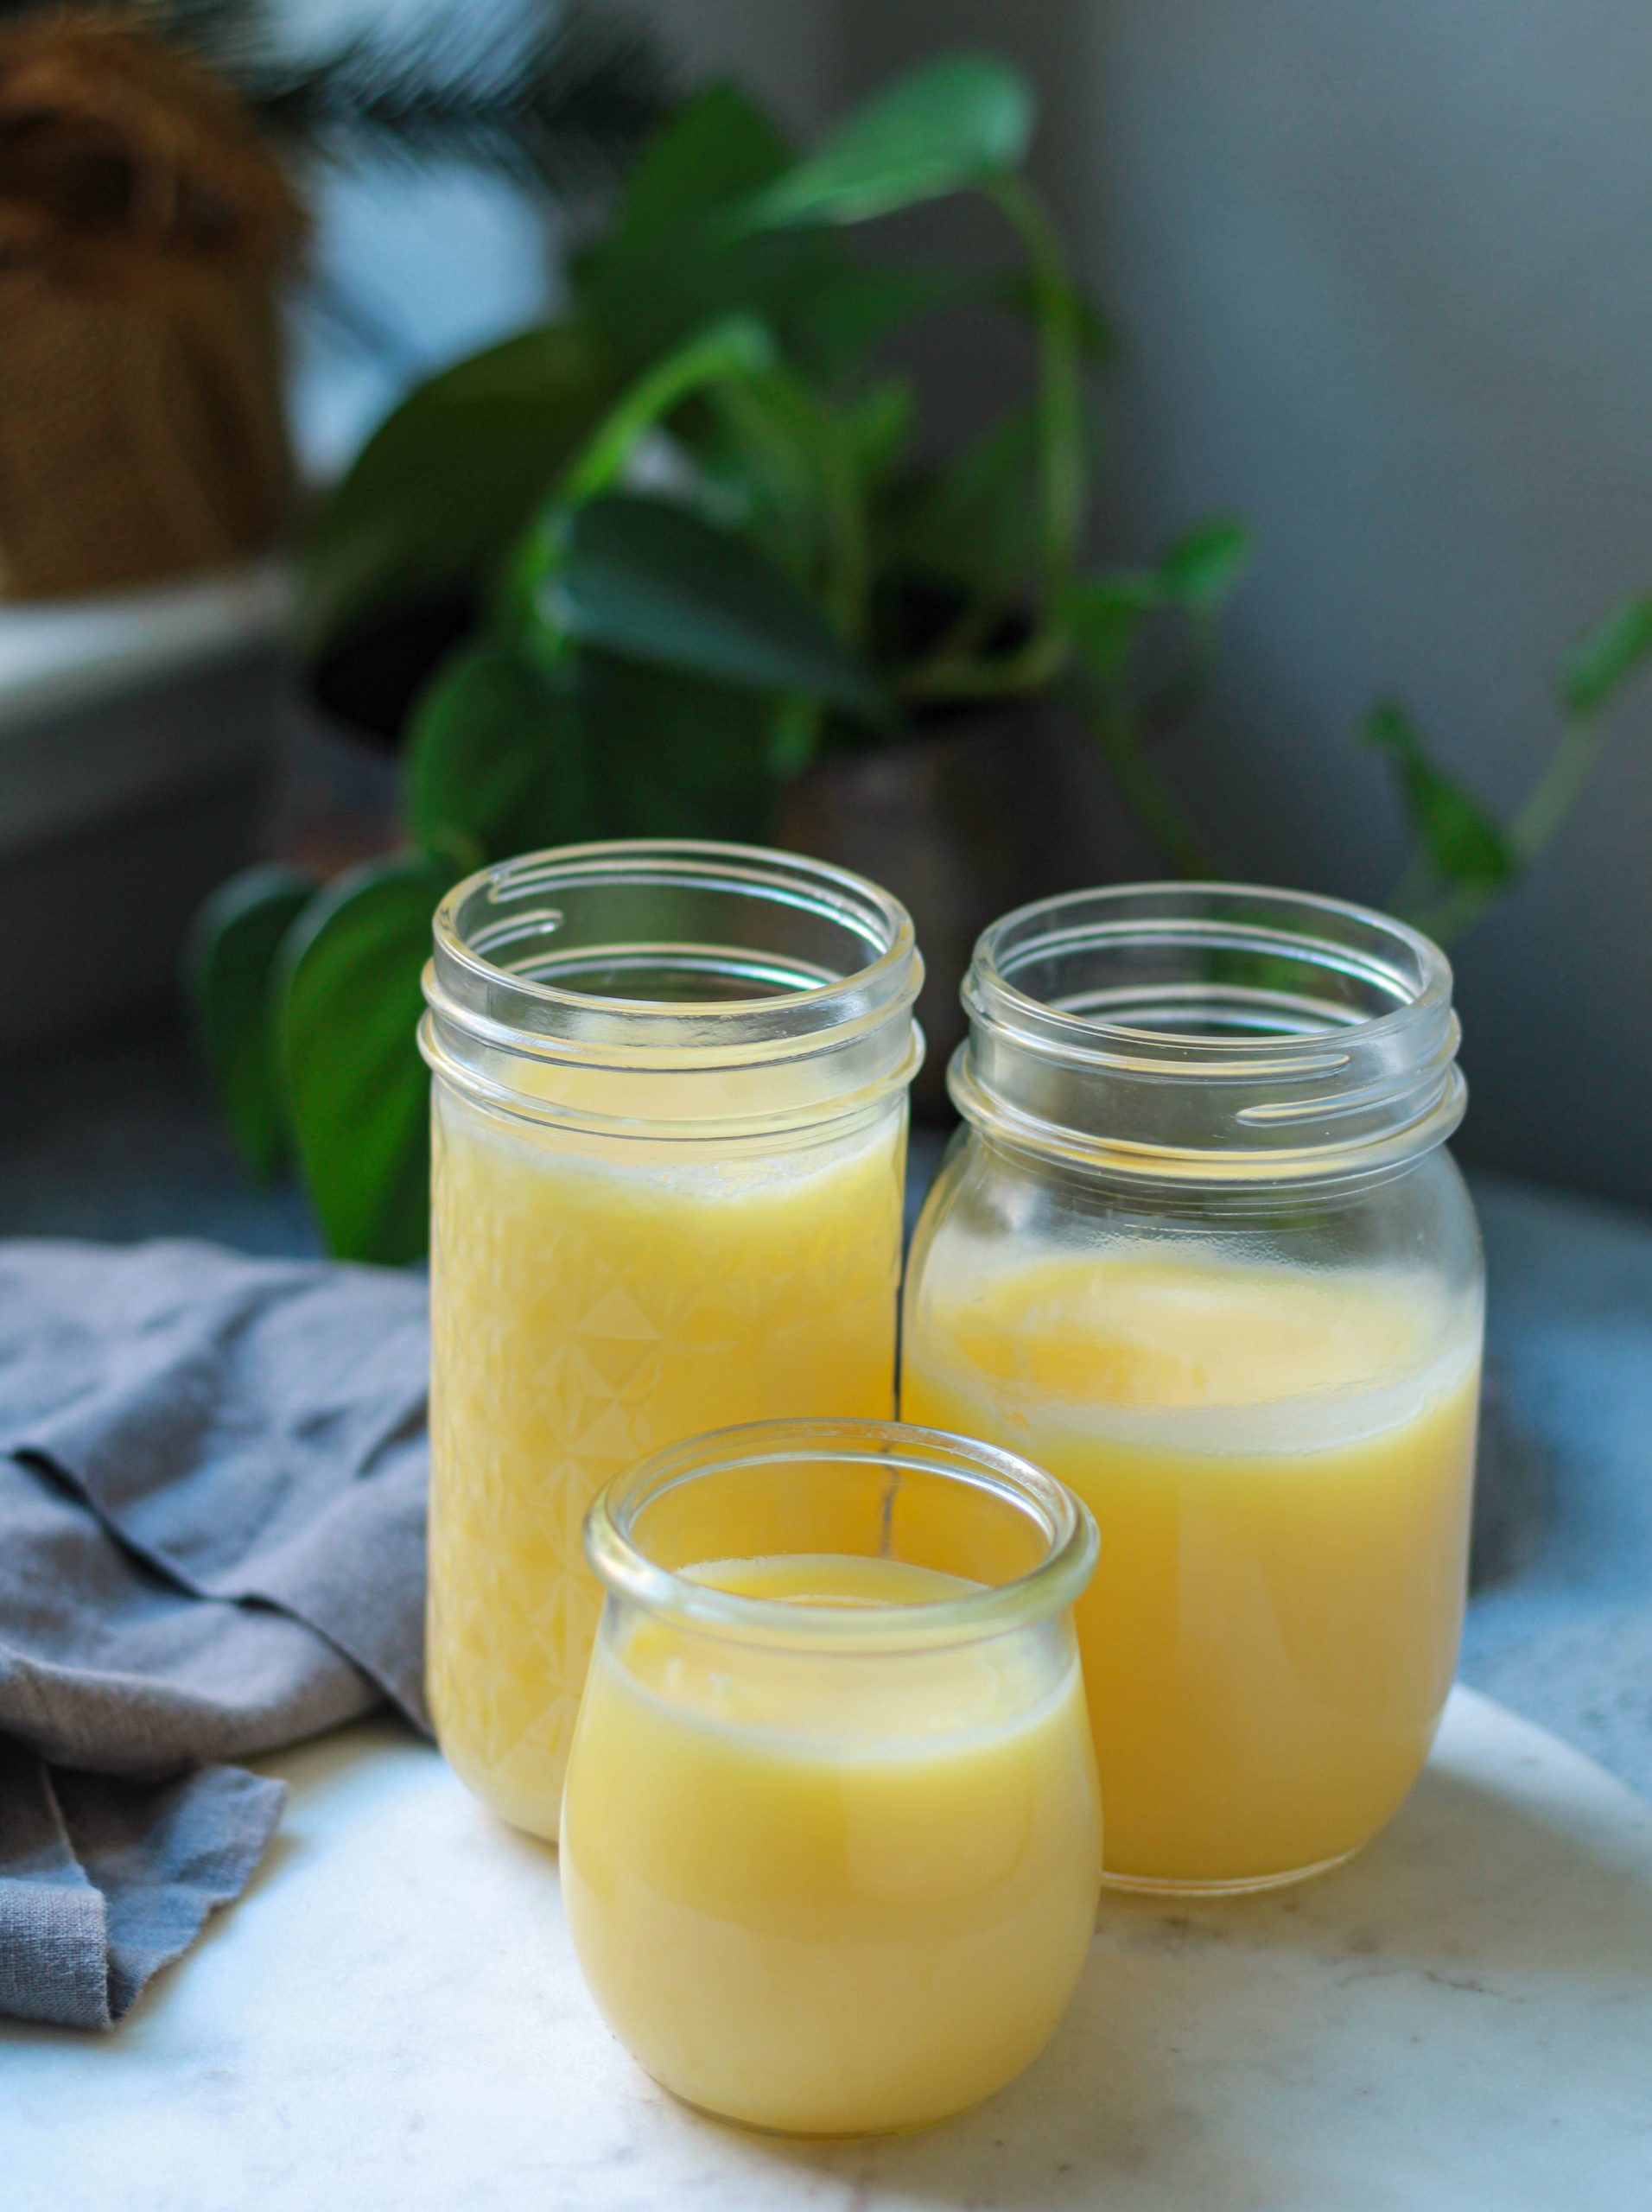
As it cools, the ghee will gradually become thicker and may turn pale yellow or creamy in appearance.
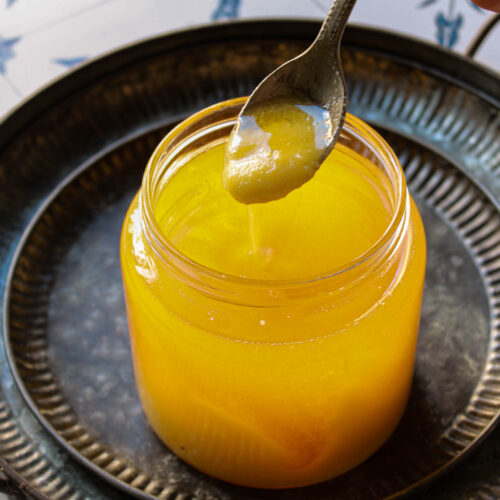
If you use Kerrygold butter and enjoy a traditional danedar texture, you may notice small granules developing as the ghee sets.
Once completely cool, store it according to the storage recommendations below.
How to Store Homemade Ghee
Proper storage helps preserve the flavor and quality of homemade ghee.
Store ghee in a clean, dry, airtight jar away from direct sunlight, heat, and moisture.
Always use a clean, dry spoon to scoop it out.
Because homemade preparation and storage conditions vary, refrigeration is a good option if you're unsure whether the ghee has been handled and stored under sufficiently dry conditions.
How to Use Homemade Ghee
Once you have a jar of homemade ghee in your kitchen, there are so many ways to use it!

Here are some of my favorite ways to enjoy ghee in everyday Indian cooking.
- Dal and rice: Add a spoonful of warm ghee over dal-rice for a comforting meal.
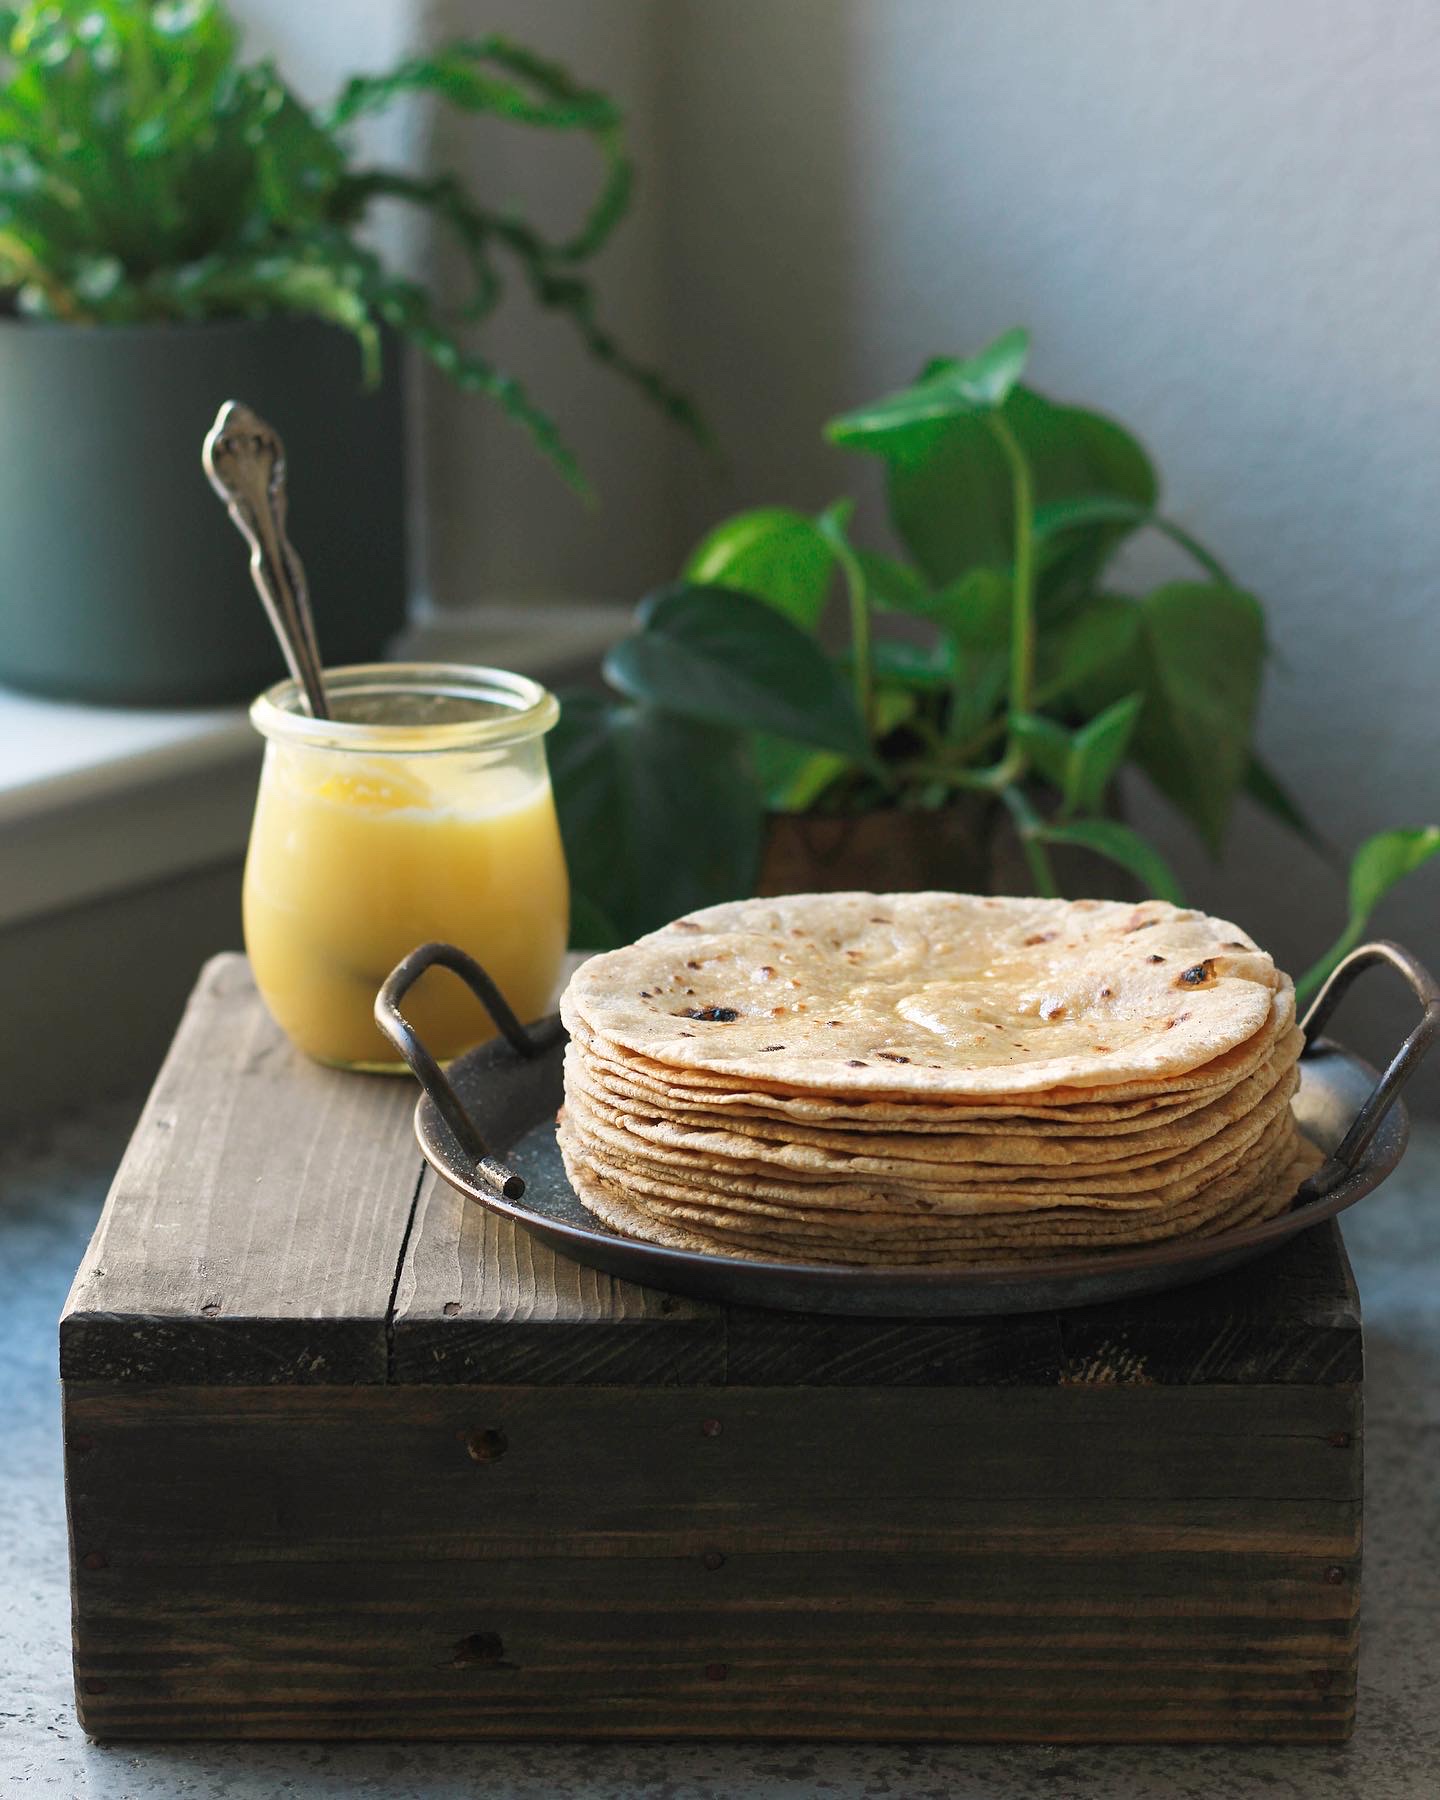
- Rotis and parathas: Brush freshly cooked rotis or parathas with a little ghee.
- Khichdi: Finish a bowl of warm khichdi with ghee for extra richness.
- Indian sweets: Use homemade ghee when preparing halwa, ladoo, and other traditional mithai.
- Tempering: Use ghee to bloom cumin seeds, mustard seeds, curry leaves, and other spices.
- Roasted vegetables: Toss vegetables with a little ghee before roasting.
- Everyday cooking: Use ghee for sautéing and cooking when its rich flavor complements the dish.
Ghee is a staple in my kitchen because a small amount can add so much flavor to simple meals.
Frequently Asked Questions
1. Can I make ghee in the Instant Pot?
Yes! You can make ghee using the Instant Pot's Sauté function. Add the butter to the inner pot and heat it uncovered until the water evaporates and the milk solids turn golden brown.
The key is to monitor the butter closely and avoid burning the solids.
2. Can I use Kerrygold butter to make ghee?
Absolutely! Kerrygold butter is my preferred choice for making homemade ghee.
I use the butter sticks available at Costco because I like their rich flavor and higher butterfat content compared with standard American butter.
The final flavor and texture will depend on the butter, the cooking process, and how the ghee cools.
3. Why is my homemade ghee grainy?
Graininess is often a result of the way the fat crystallizes as ghee cools.
The butter's composition, cooking process, and cooling conditions can all affect the final texture.
Small granules are normal and are often desirable in danedar ghee.
4. Why is my ghee not danedar?
Not every batch of homemade ghee develops a granular texture.
The final consistency depends on the butter used, the way the ghee is prepared, and how it cools.
If your ghee sets smoothly, it can still be perfectly good ghee.
5. Why did my ghee turn dark brown?
Your milk solids may have cooked for too long or at too high a temperature.
Milk solids should turn golden brown and release a nutty aroma. If they become very dark or black, the ghee may taste burnt.
For your next batch, monitor the color closely and switch off the heat as soon as the ghee is ready.
6. Why is my homemade ghee cloudy?
Ghee can appear cloudy or opaque as it cools because the fat begins to crystallize.
This is usually normal.
However, if the ghee has an unusual smell or shows signs of spoilage, do not use it.
7. Can I make ghee with salted butter?
Yes, salted butter can be used to make ghee.
However, I prefer unsalted butter because it gives me better control over the flavor, especially when preparing Indian sweets.
8. Is homemade ghee the same as clarified butter?
They are closely related, but the cooking process differs.
Clarified butter is heated to separate the water and milk solids from the fat. Ghee is generally cooked longer so that the milk solids brown, giving it a deeper, nuttier flavor.
9. Is homemade ghee lactose-free?
Ghee generally contains very little lactose because most of the milk solids are removed during preparation. However, homemade ghee may contain residual milk solids, so it should not automatically be considered completely lactose-free.
People with milk allergies should avoid ghee unless advised otherwise by their healthcare professional.
10. Can I use homemade ghee for Indian sweets?
Yes! Homemade ghee is excellent for making traditional Indian sweets, including halwa, ladoo, and other mithai.
Its rich aroma and nutty flavor complement many Indian desserts.
Instant Pot Homemade Ghee
These nutrional values are automatically generated. Use them for estimation only.
Equipment
- 1 6 qt Instant Pot
Ingredients
- 8 Sticks Unsalted Butter I use Kerrygold Butte from Costco

Instructions
- Add the butter sticks to the inner pot of the Instant Pot.
- Select the Sauté function and allow the butter to melt completely.
- Continue cooking uncovered as the butter bubbles and the moisture evaporates.
- No need to stir the butterfat while it is cooking.
- Watch as the milk solids settle at the bottom and gradually turn golden brown. This will happen at the 12 minute mark if you are using 8 sticks of butter
- Once the butterfat looks clear and golden and the milk solids develop a nutty aroma, switch off the Instant Pot.
- Allow the ghee to settle briefly, taking care not to let the residual heat burn the milk solids.
- Let the ghee cool a little bit.
- Carefully strain the ghee through a fine-mesh strainer lined with clean cheesecloth into a heat-safe container.
- Let the ghee cool completely before securing the lid.
- Store in a clean, dry, airtight jar away from moisture and heat, or refrigerate if preferred.
Notes
- I prefer Kerrygold unsalted butter sticks or any other European butter from Costco for their rich flavor and higher butterfat content compared with standard American butter.
- For danedar ghee, allow the strained ghee to cool naturally. The final texture depends on the butter and cooling conditions.
- Cooking times vary, so watch the color and aroma rather than relying on the clock alone.
- Keep the Instant Pot uncovered throughout the cooking process.
- Use clean, dry utensils and storage containers.
Nutrition



Your Thoughts